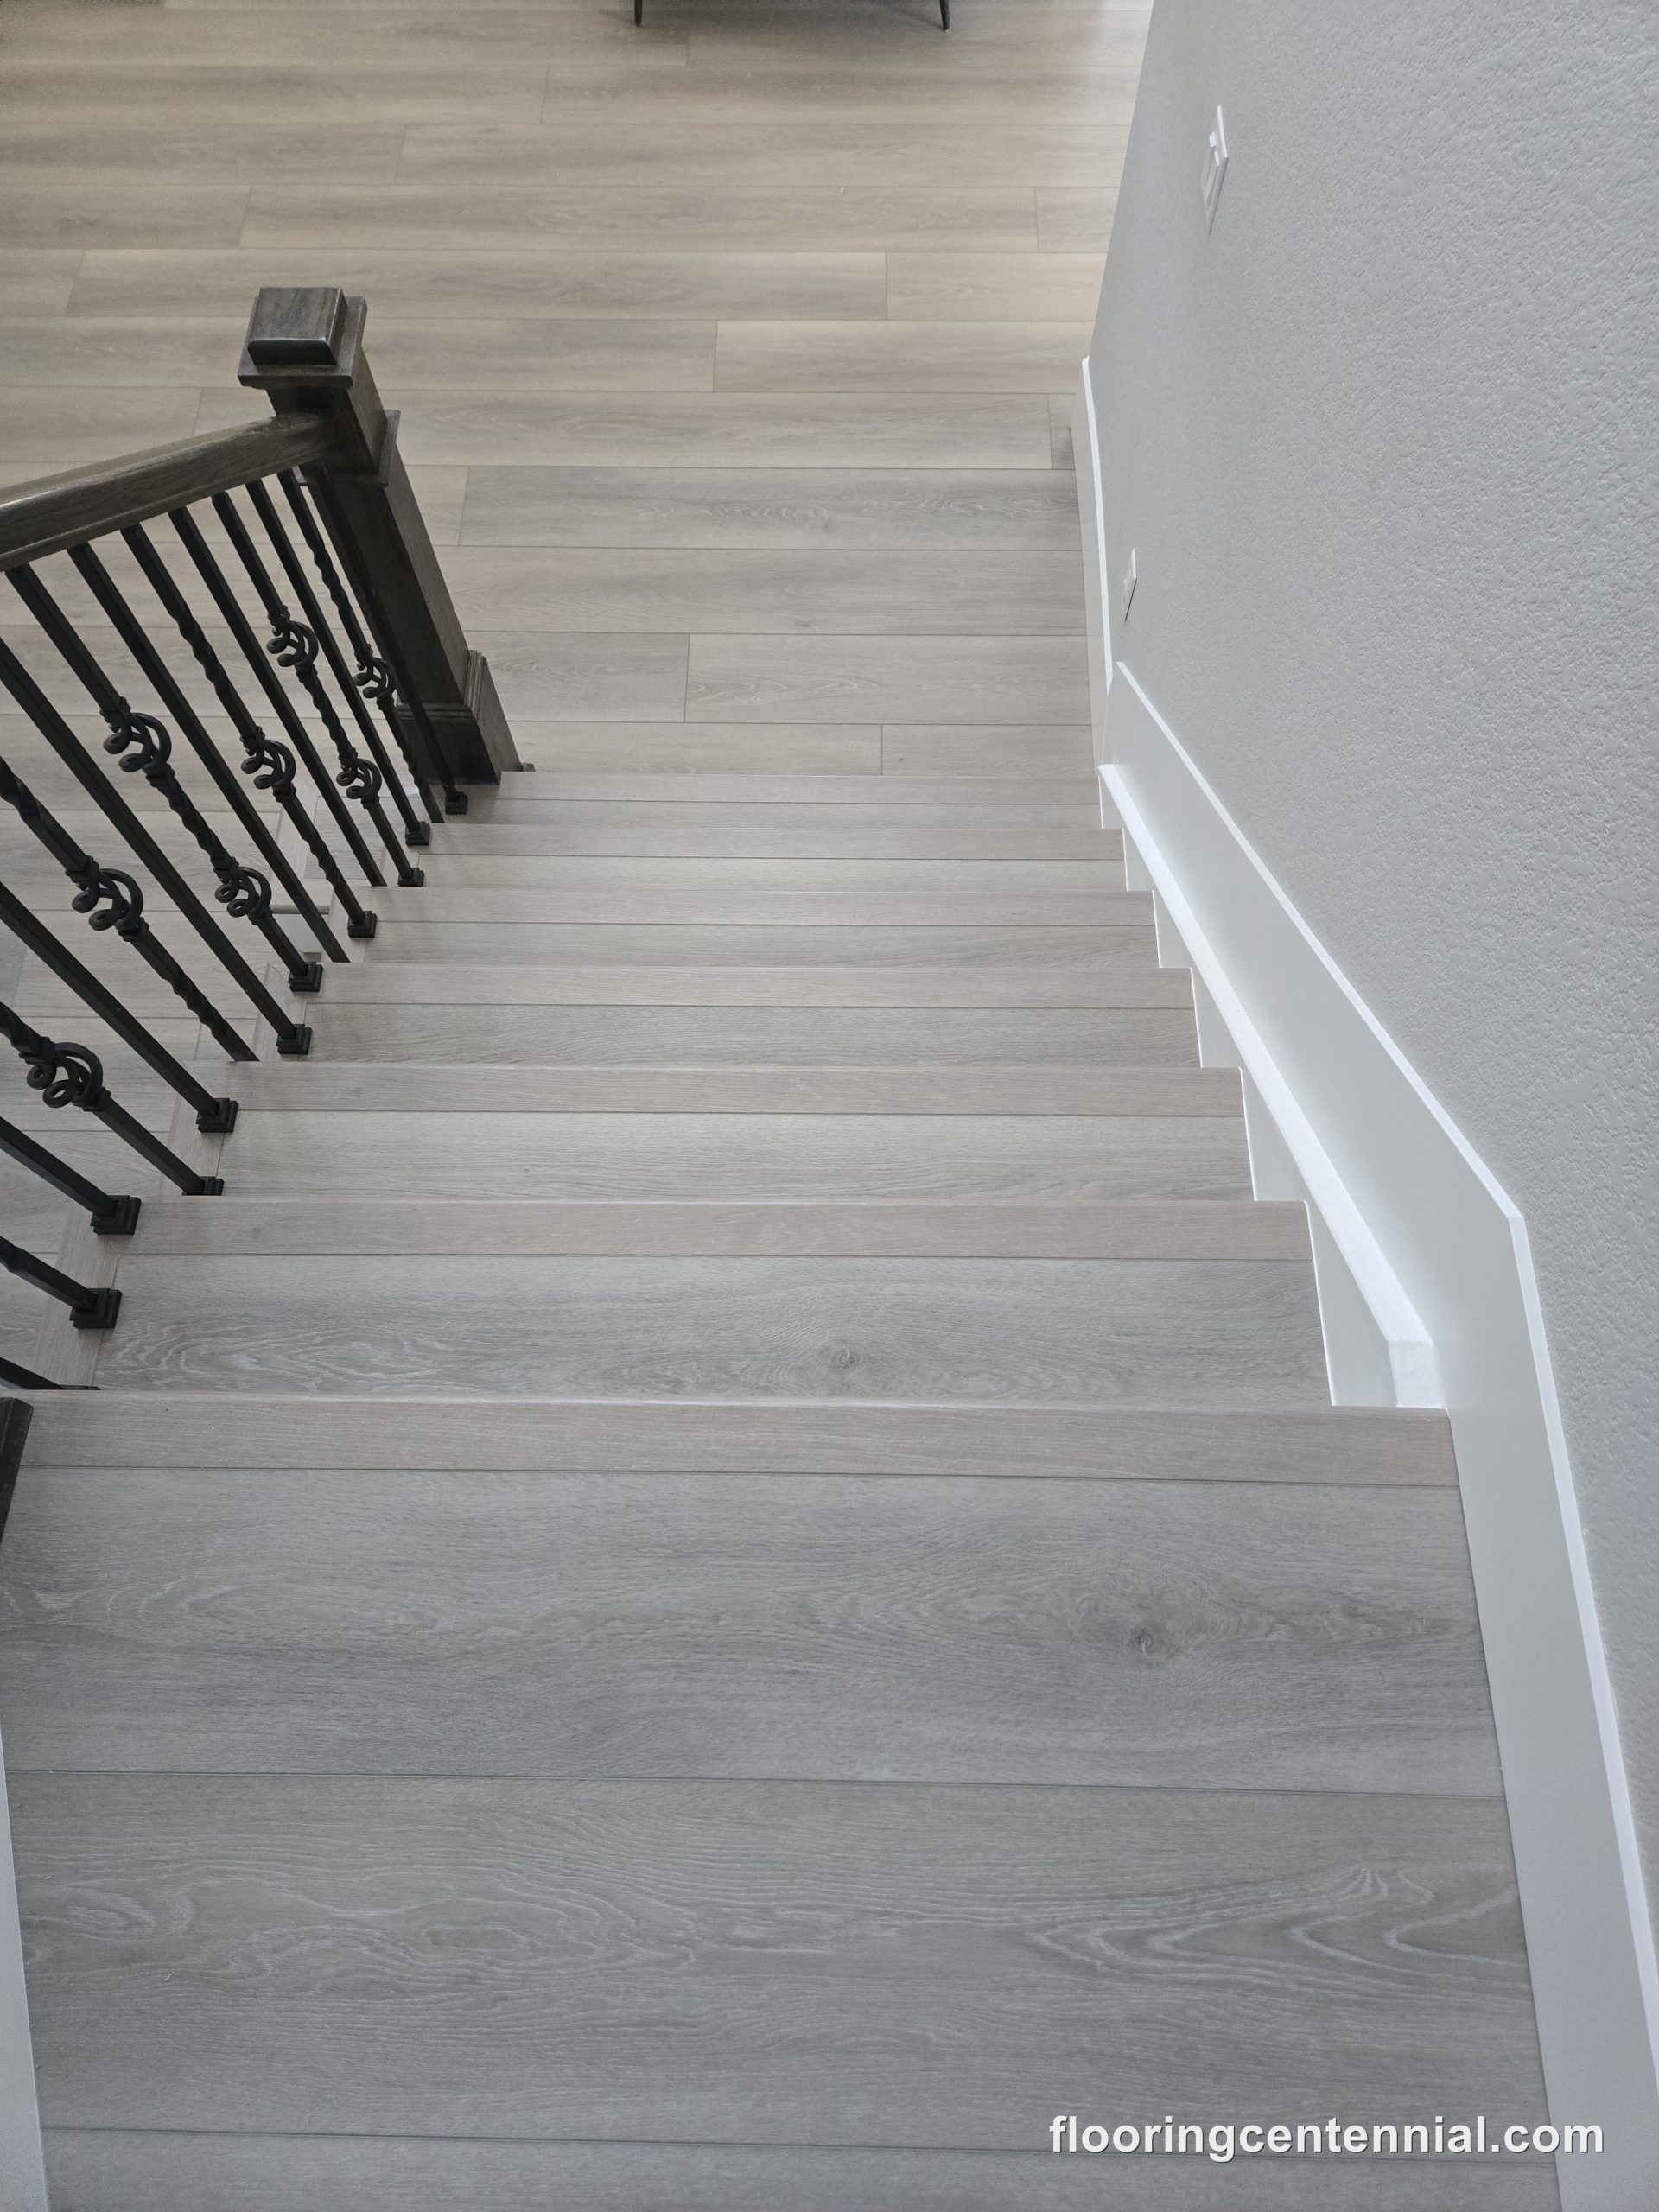
DIY-Friendly Flooring Upgrades for Centennial, CO Homes
June 30, 2026
The appeal of doing your own flooring is real. A lower upfront cost and control over your own timeline are good reasons to consider it. So is the satisfaction of finishing the job yourself. This is especially true if you’re searching for affordable flooring services without hiring outside help. In some cases, a DIY flooring project makes sense. A single room with a simple rectangular layout is within reach for a careful, patient homeowner. This works best with a click-lock product and a clean subfloor.
That said, plenty of DIY flooring projects end up costing more to fix. Hiring flooring remodeling experts would have cost less from the start. Below is an honest look at where DIY works, where it falls short, and what to weigh before you decide.
What Separates a DIY-Friendly Project From One That Is Not
Not every flooring product is designed with the same tolerance for inexperienced installation. Some materials are forgiving of the small errors that come with limited experience. Others require precision tools, technical skill, and conditions that most homeowners are not equipped to handle without professional training. The material, the condition of the subfloor, and the complexity of the room’s layout are the three variables. Together, they determine whether a DIY flooring project is a realistic weekend job or an expensive lesson.
A rectangular room with no angles, no cutouts, and no transitions into adjacent spaces is ideal. Laid over a flat, level subfloor, it’s about as favorable a scenario as exists for a DIY installation. Add an irregular room shape, a subfloor with soft spots, multiple doorways requiring transition strips, or a staircase connection. The difficulty increases substantially with each additional variable.
Click-Lock LVP: The Most Realistic DIY Option
Click-lock luxury vinyl plank is the most accessible flooring type for a homeowner attempting an installation without professional experience. The planks lock together edge to edge without adhesive or nailing. The floating installation method means the floor is not permanently bonded to the subfloor. Most manufacturers include clear installation guidance. A careful first-timer with good attention to detail can work through a simple single room over a weekend.
Two areas consistently cause problems in DIY LVP projects: the subfloor and the cuts. Click-lock LVP requires a flat, clean surface underneath it. Any height variation greater than roughly 3/16 of an inch over a six-foot span will cause the planks to flex. This stresses the locking joints and can eventually cause gaps or separation at the seams. Cuts around door frames, floor vents, and irregular walls require patience and the right blade, and mistakes consume material. Buying ten to fifteen percent more than your measured square footage is standard practice for this reason.
Peel-and-stick vinyl tile has the lowest barrier to entry of any flooring upgrade. No specialty tools, no adhesive to mix, and most installations can be completed in a few hours. For a laundry room or a rental property, it can make sense. The same goes for a space that will be properly renovated within the next year or two. It’s a short-term improvement that costs relatively little.
It does not perform like proper flooring. That matters in spaces that take real daily use. The adhesive on most products degrades over time, particularly in rooms with temperature swings or moisture exposure. Edges lift. Tiles shift under traffic. In a space where you are investing in the long-term presentation of the home, peel-and-stick falls short. It is not a substitute for a proper installation.
Where DIY Flooring Almost Always Falls Short
Hardwood installation, ceramic tile work, and carpet are not realistic DIY projects for most homeowners. Attempting them without experience tends to backfire. The result is often a floor that fails within the first year. Or it’s a call to a professional to correct what went wrong. Hardwood requires nailing or gluing into a wood subfloor with equipment most homeowners do not own. It also demands precise spacing for seasonal expansion, plus the skill to read and manage grain patterns across planks. Getting it wrong means cupping, gapping, or squeaking within months of installation.
Tile requires more technical skill than it appears from the outside. Grout lines, layout planning, and adhesive coverage consistency take real practice to execute well. A tile floor with inconsistent grout lines or hollow spots reads as amateur work. So does a layout that ignores the room’s actual center. This holds true regardless of how good the tile itself is. Our tile floor installationtakes care of all of those details. The result holds up the way tile should over years of use.
The Subfloor Issue That Determines Everything
The biggest risk in any DIY flooring project, regardless of the material chosen, is the subfloor. A subfloor with soft spots, moisture damage, height variation, or structural issues is not something a new floor hides. It is something a new floor reveals, often within the first few weeks of installation. Squeaking, movement, gapping at seams, and cracking finish are almost always subfloor problems. The new material exposes them; it does not create them.
Assessing a subfloor accurately requires knowing what to look for and how to address it when something turns up. Our team reviews and prepares the subfloor as part of every flooring installation we handle. It is a step that DIY installations commonly skip or underestimate. That is consistently the top reason we get called in. We end up redoing work that was recently completed by someone else.
When Professional Installation Makes More Financial Sense
There is a practical threshold where DIY flooring stops saving money. Multiple connected rooms, irregular layouts, transitions between materials, existing subfloor work, stairs, or tight tolerances change the math. These jobs take longer than expected and use more material through measurement errors and bad cuts. They typically produce a lower-quality result than professional installation would have at the same total cost.
Our team at Floor and More handles flooring installation across Centennial and Aurora. We also serve Parker, Highlands Ranch, and the broader Denver metro area. We provide free estimates with no obligation. You get an honest number for professional installation before deciding how to proceed. We also install flooring that you have already purchased. If you bought material and realized the project is more than you want to take on alone, we can help. We step in from there. For homeowners also considering cabinetry updates or a broader interior remodeling project, we handle that under the same roof.