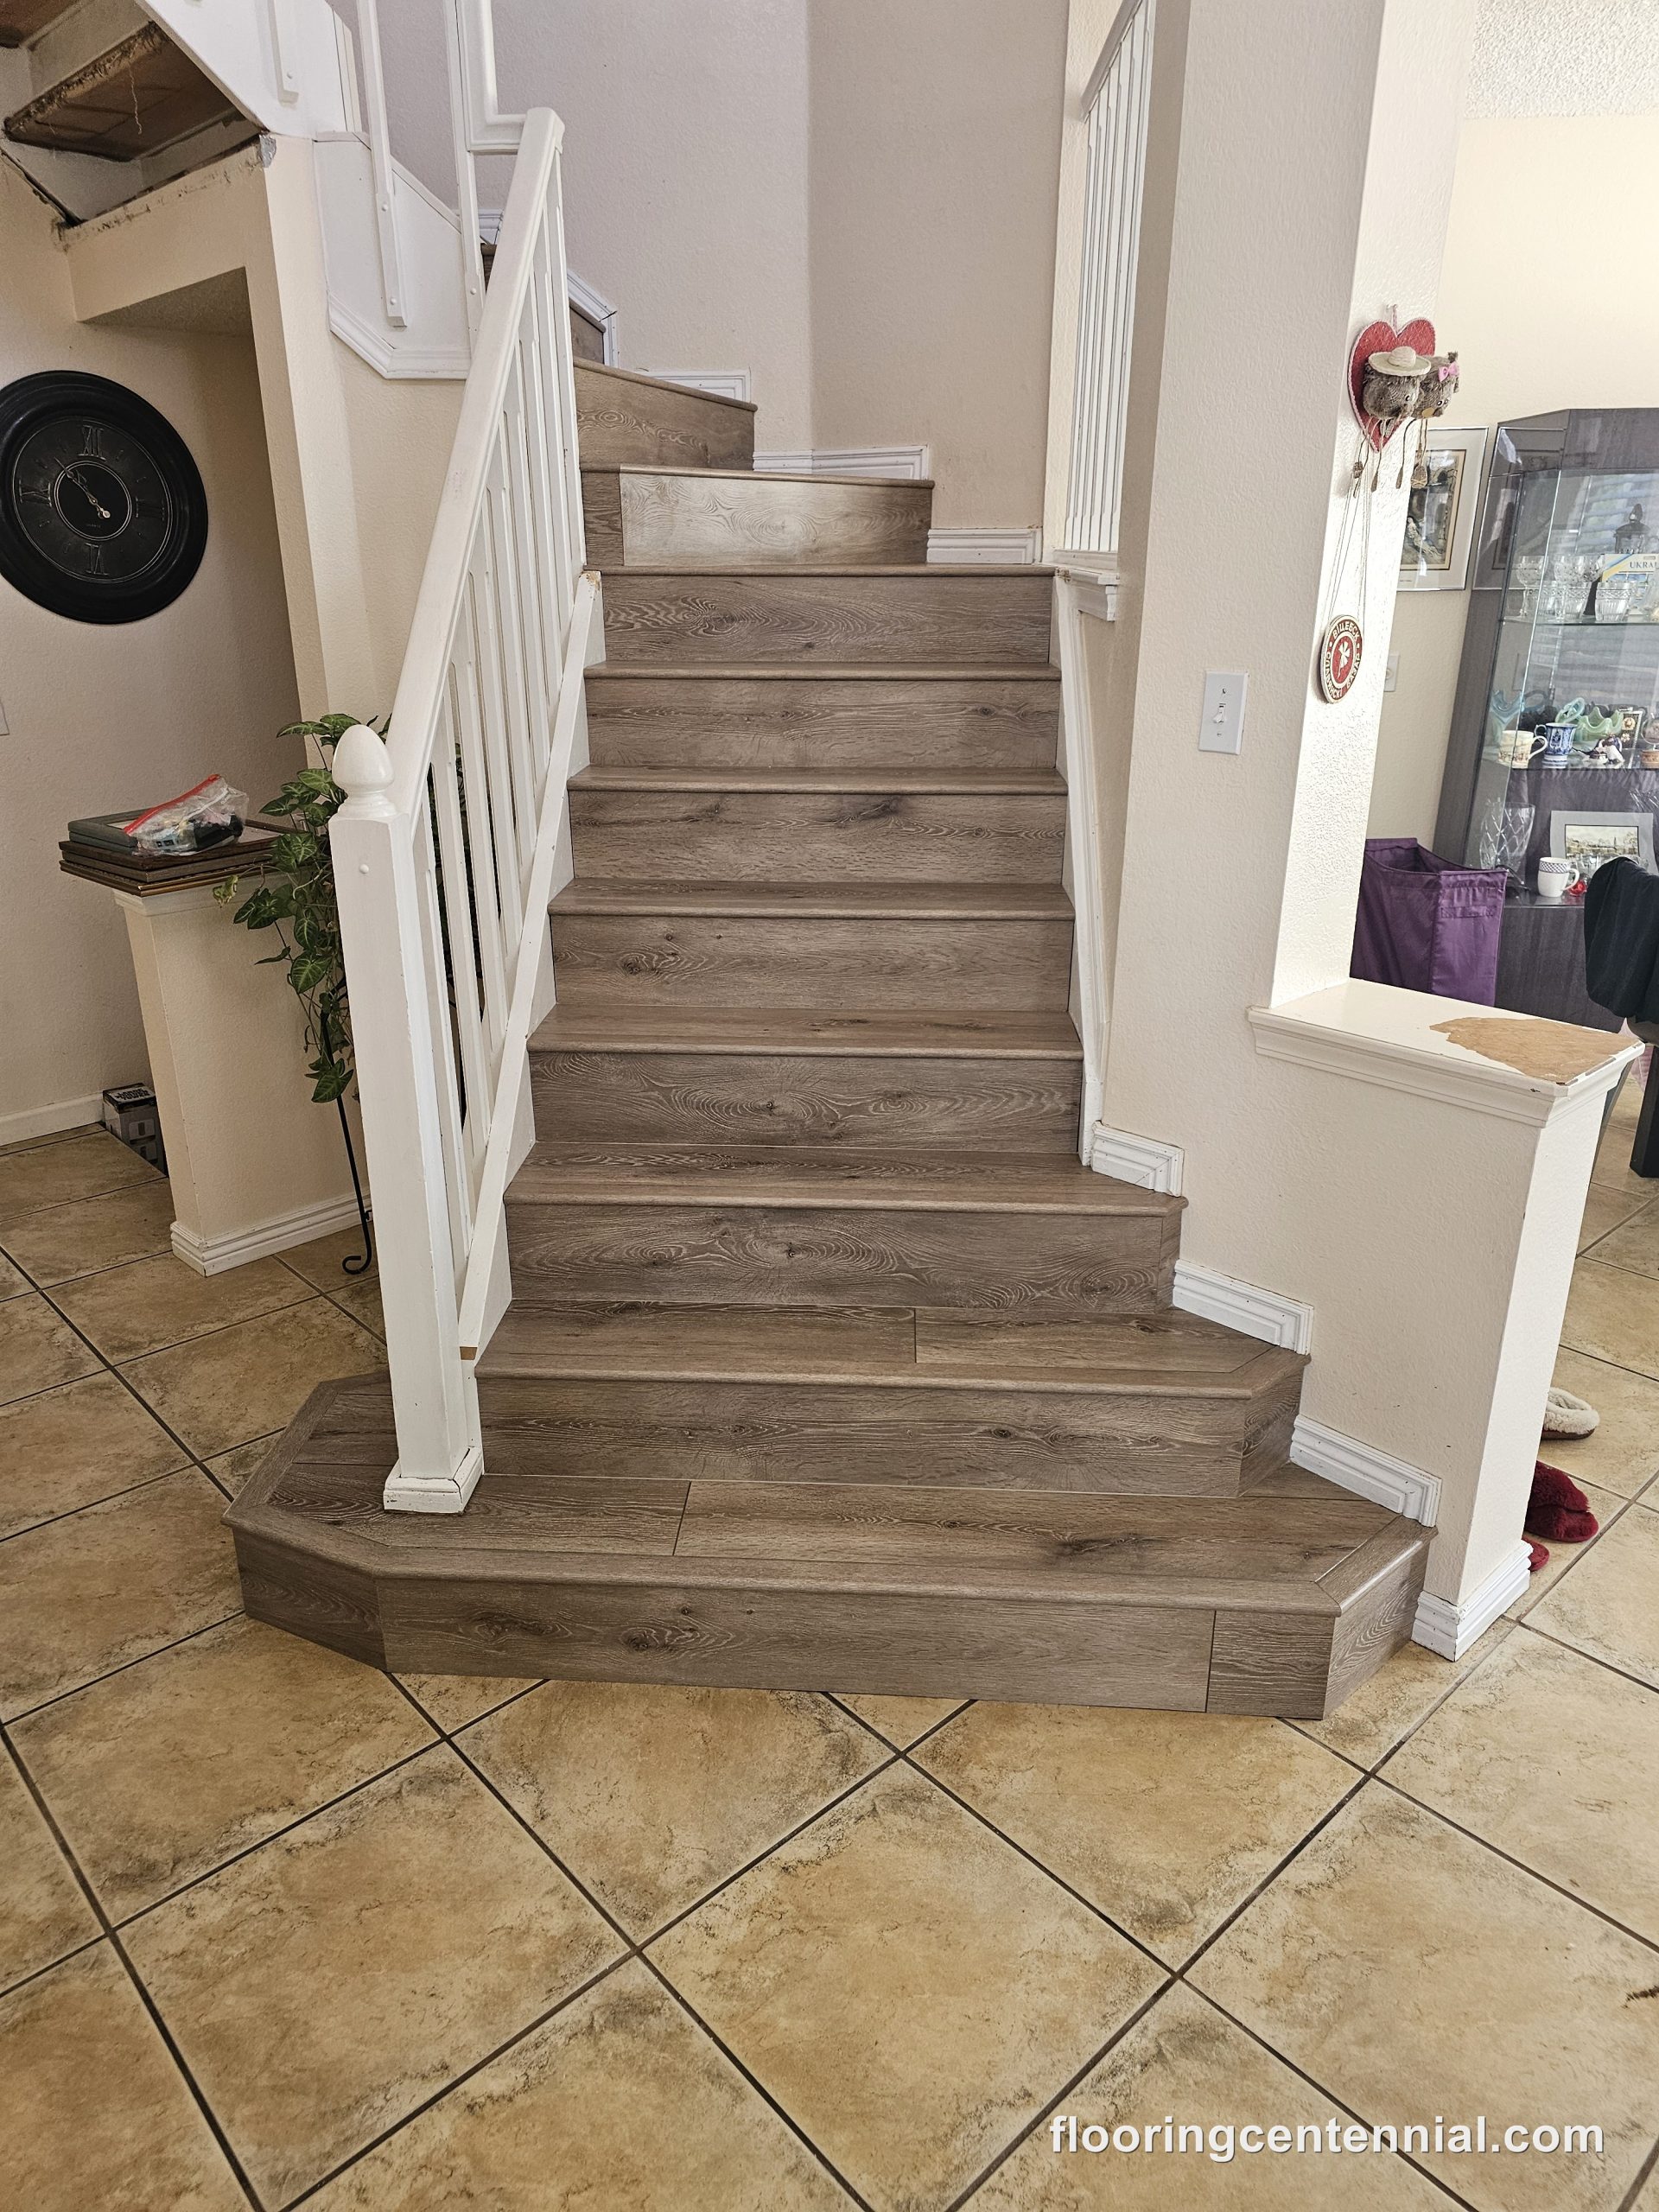
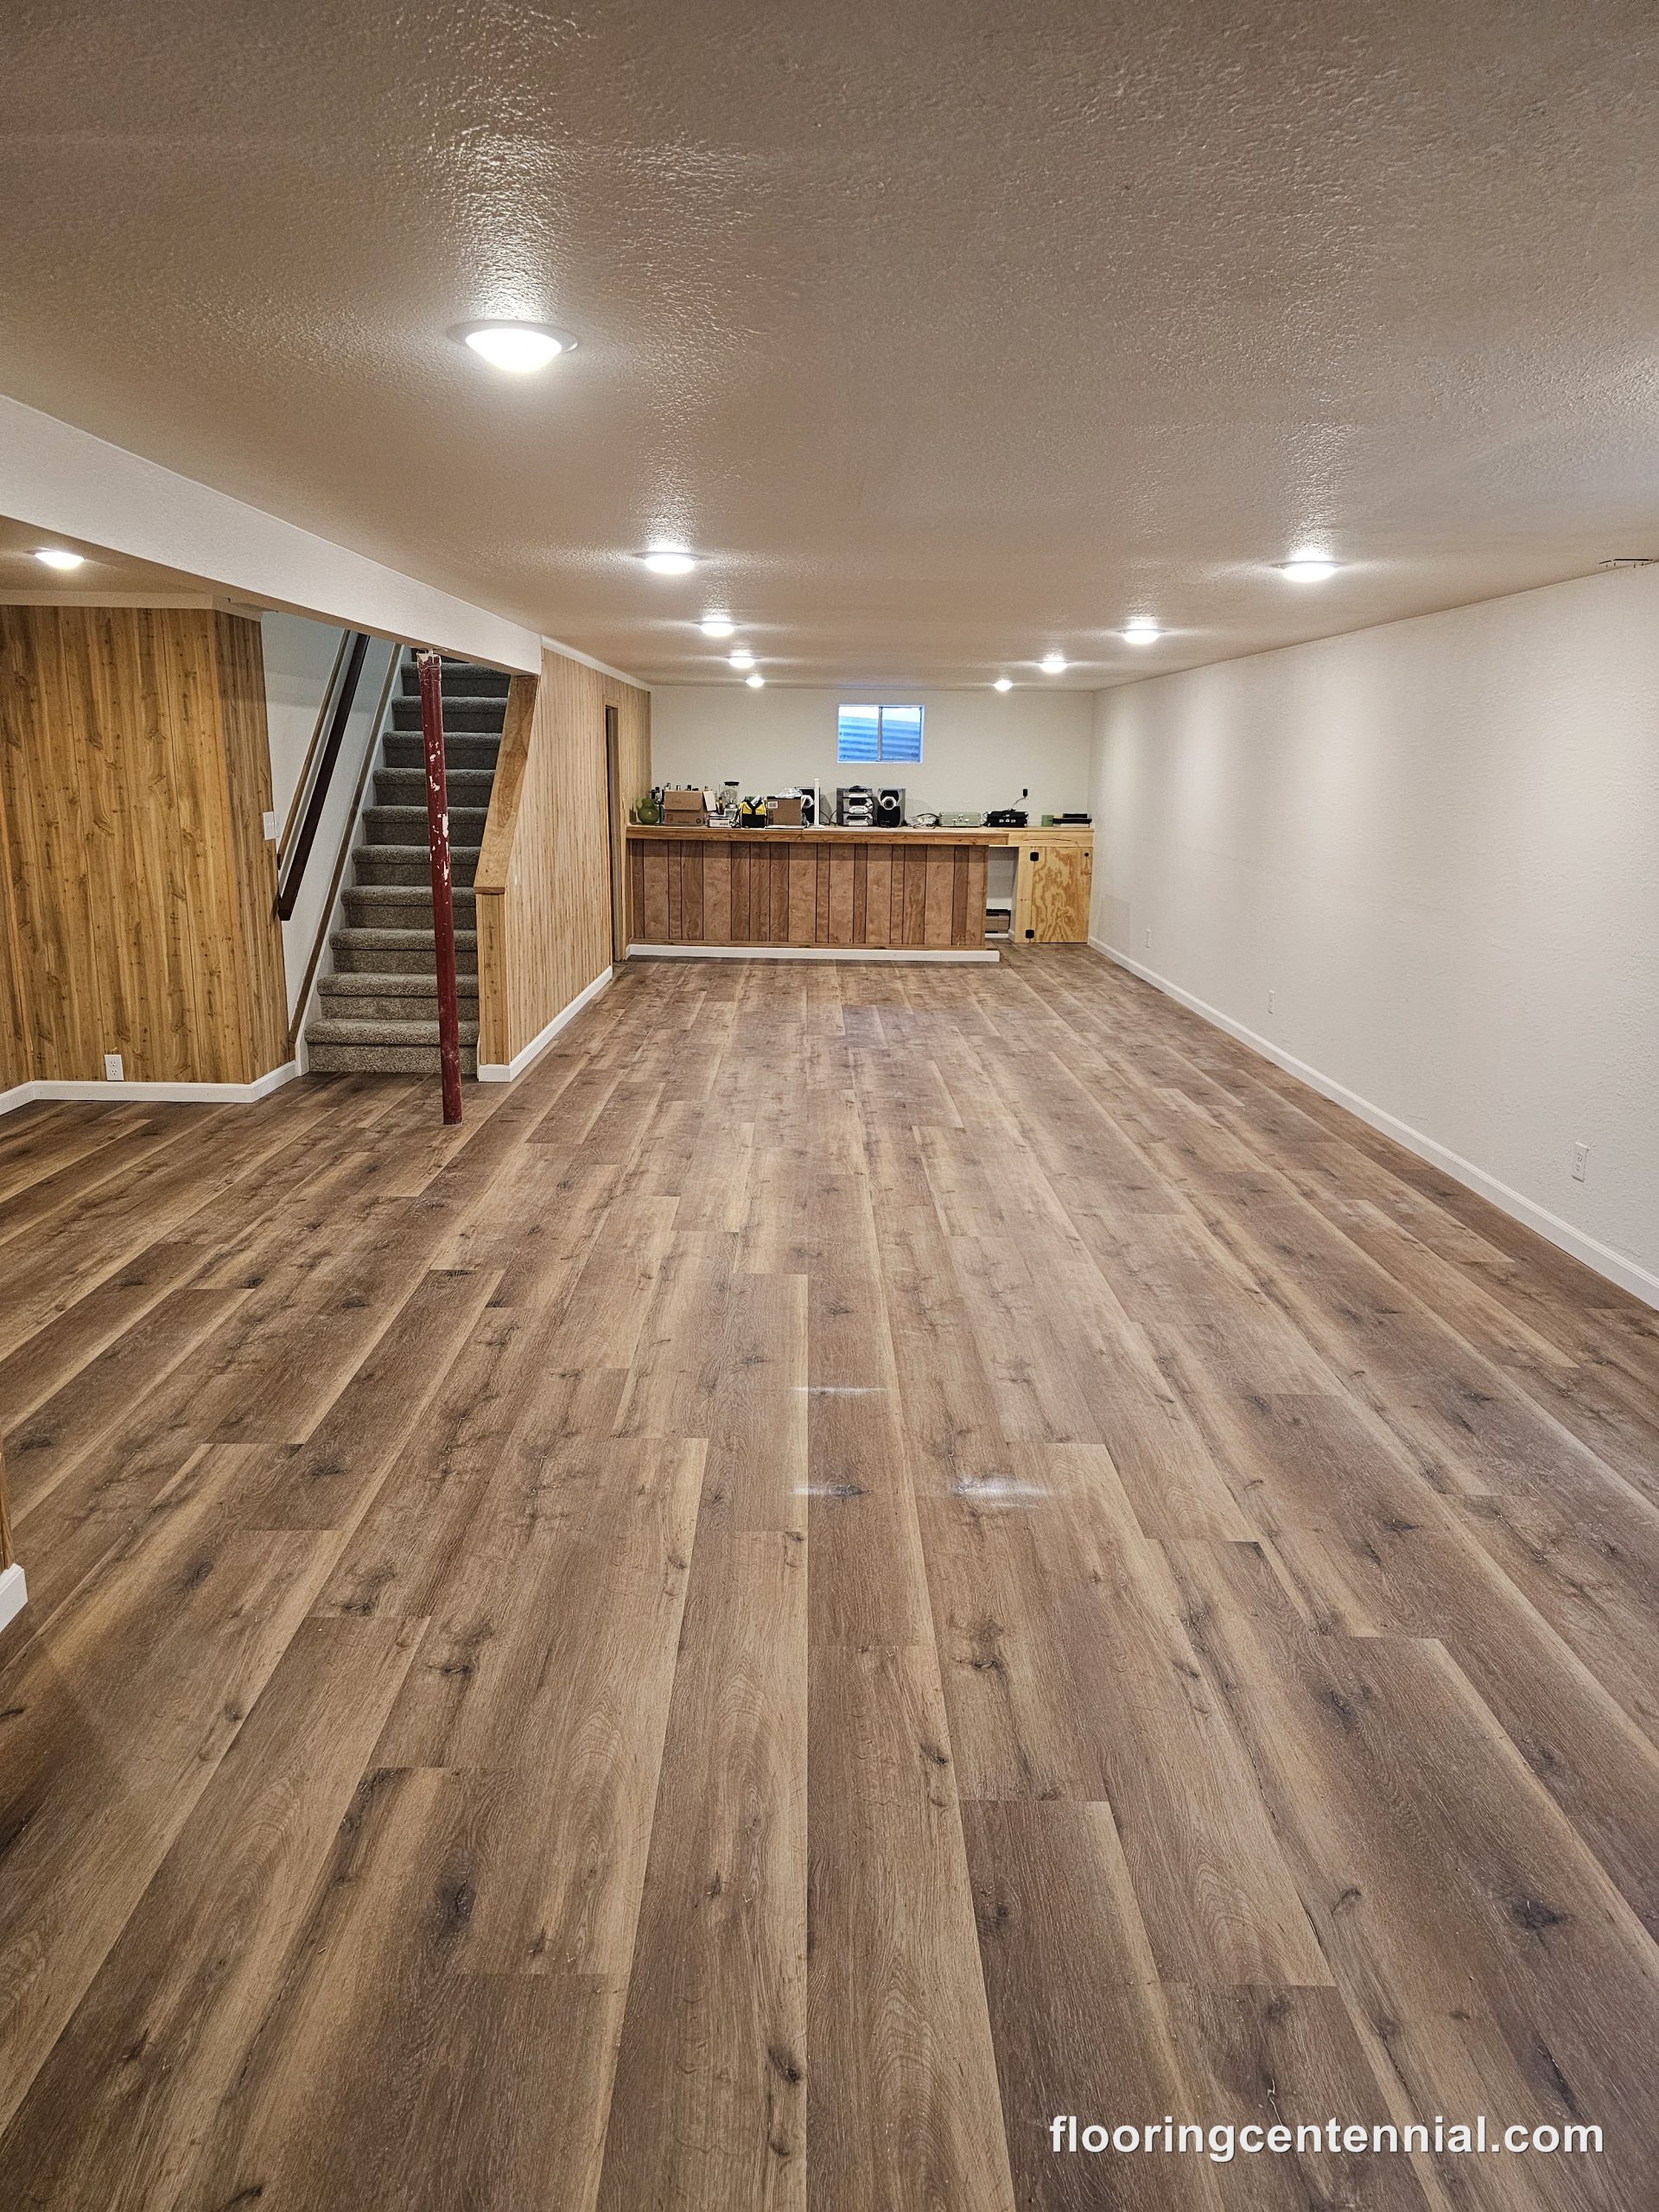
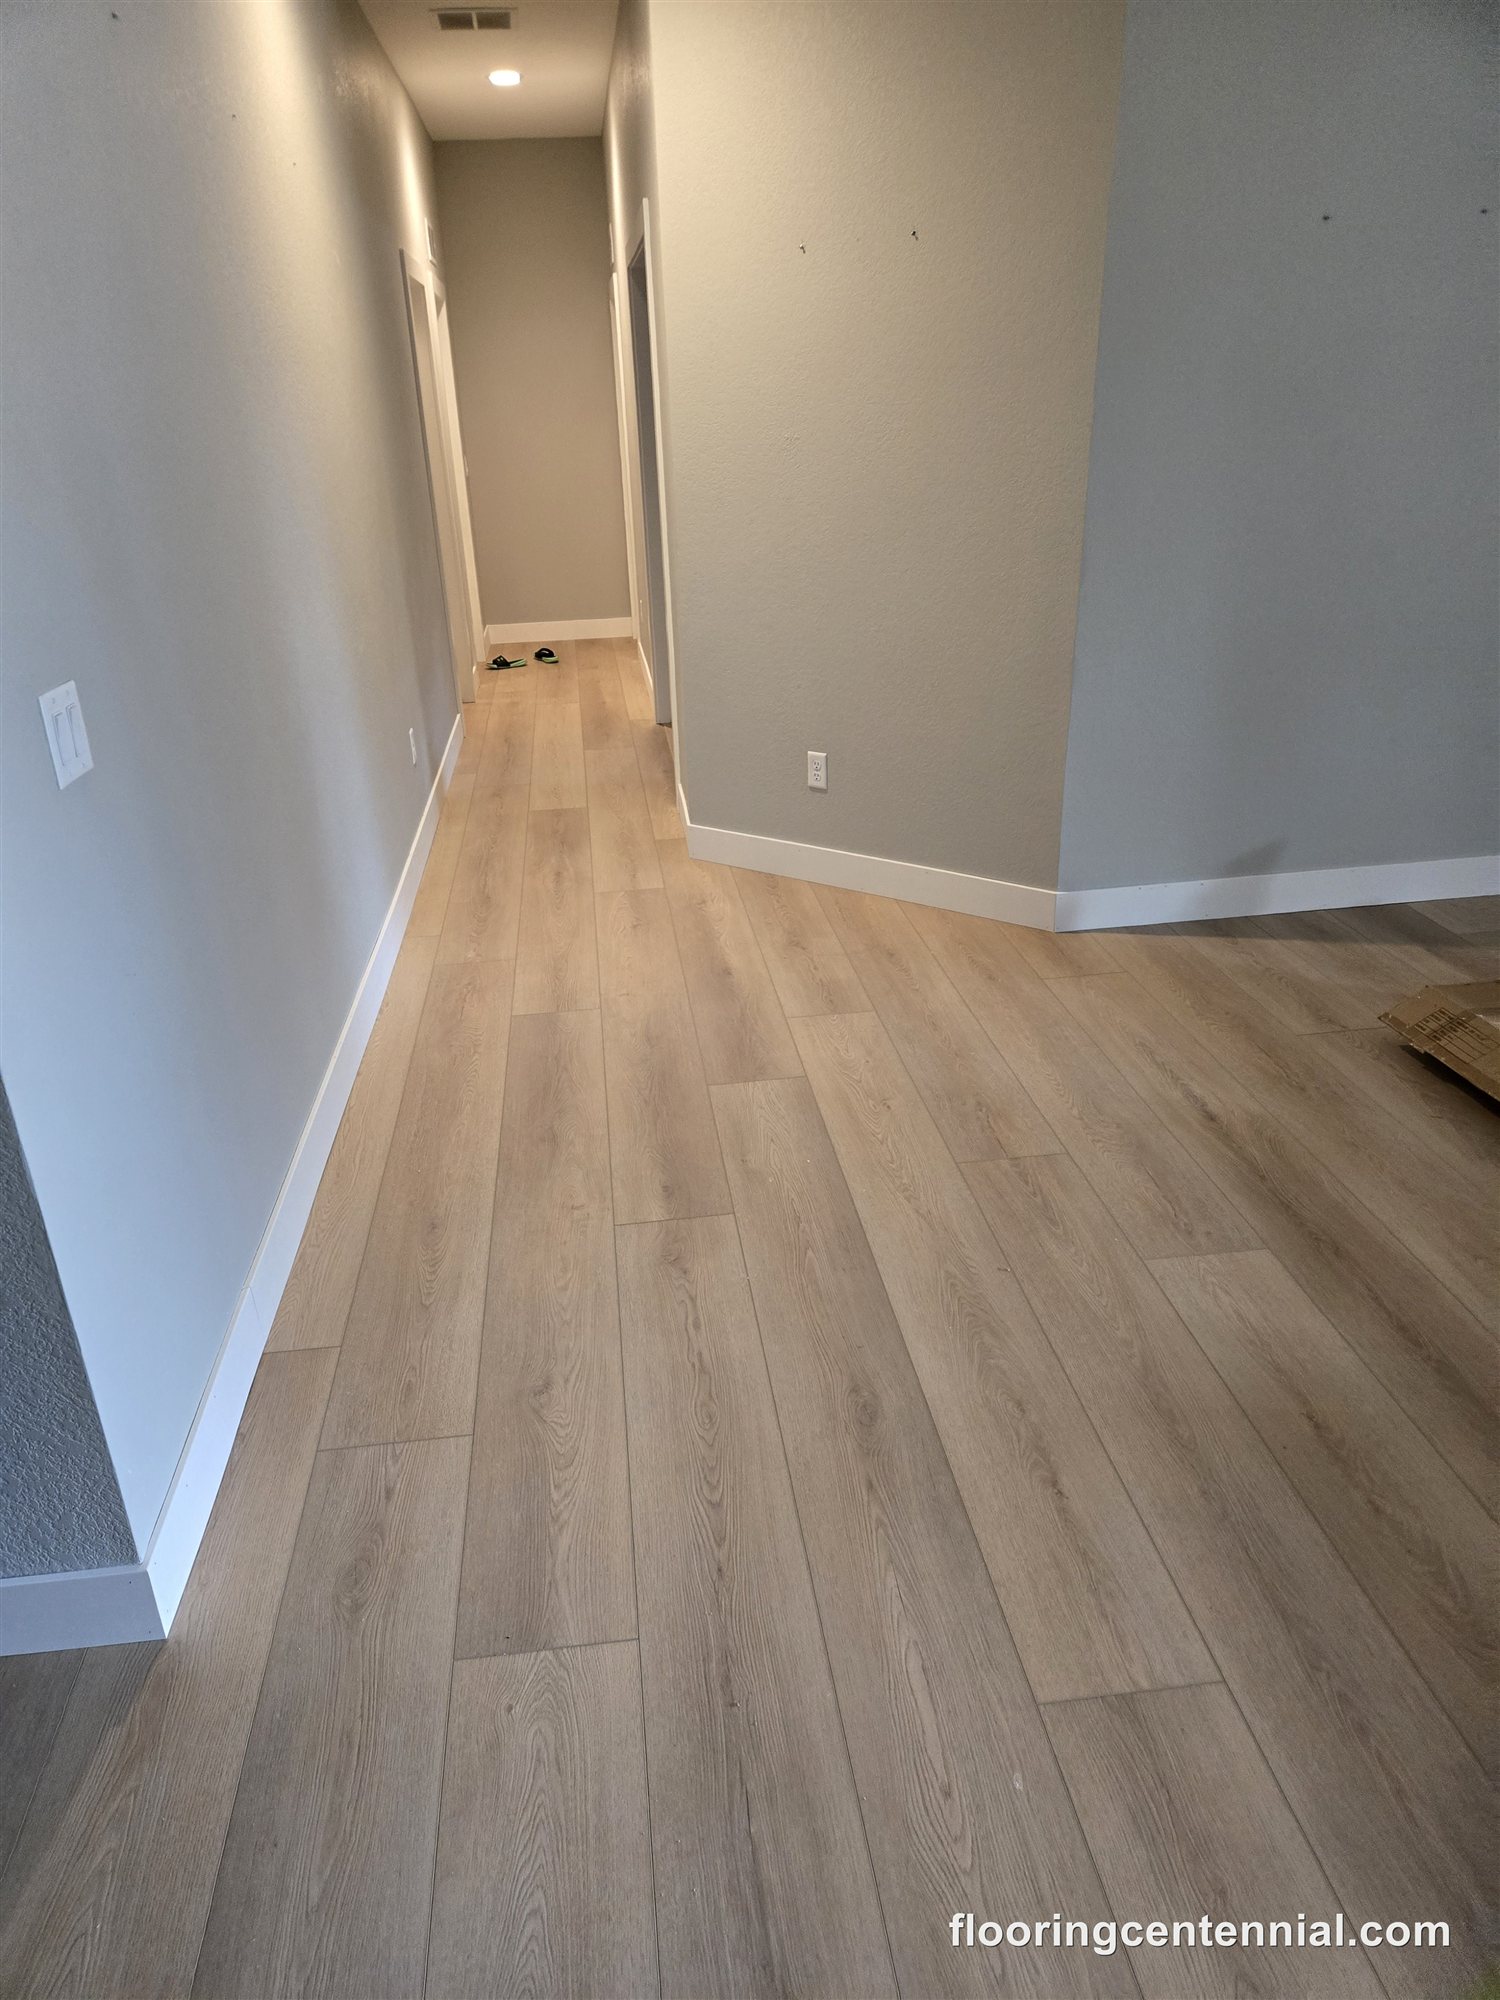
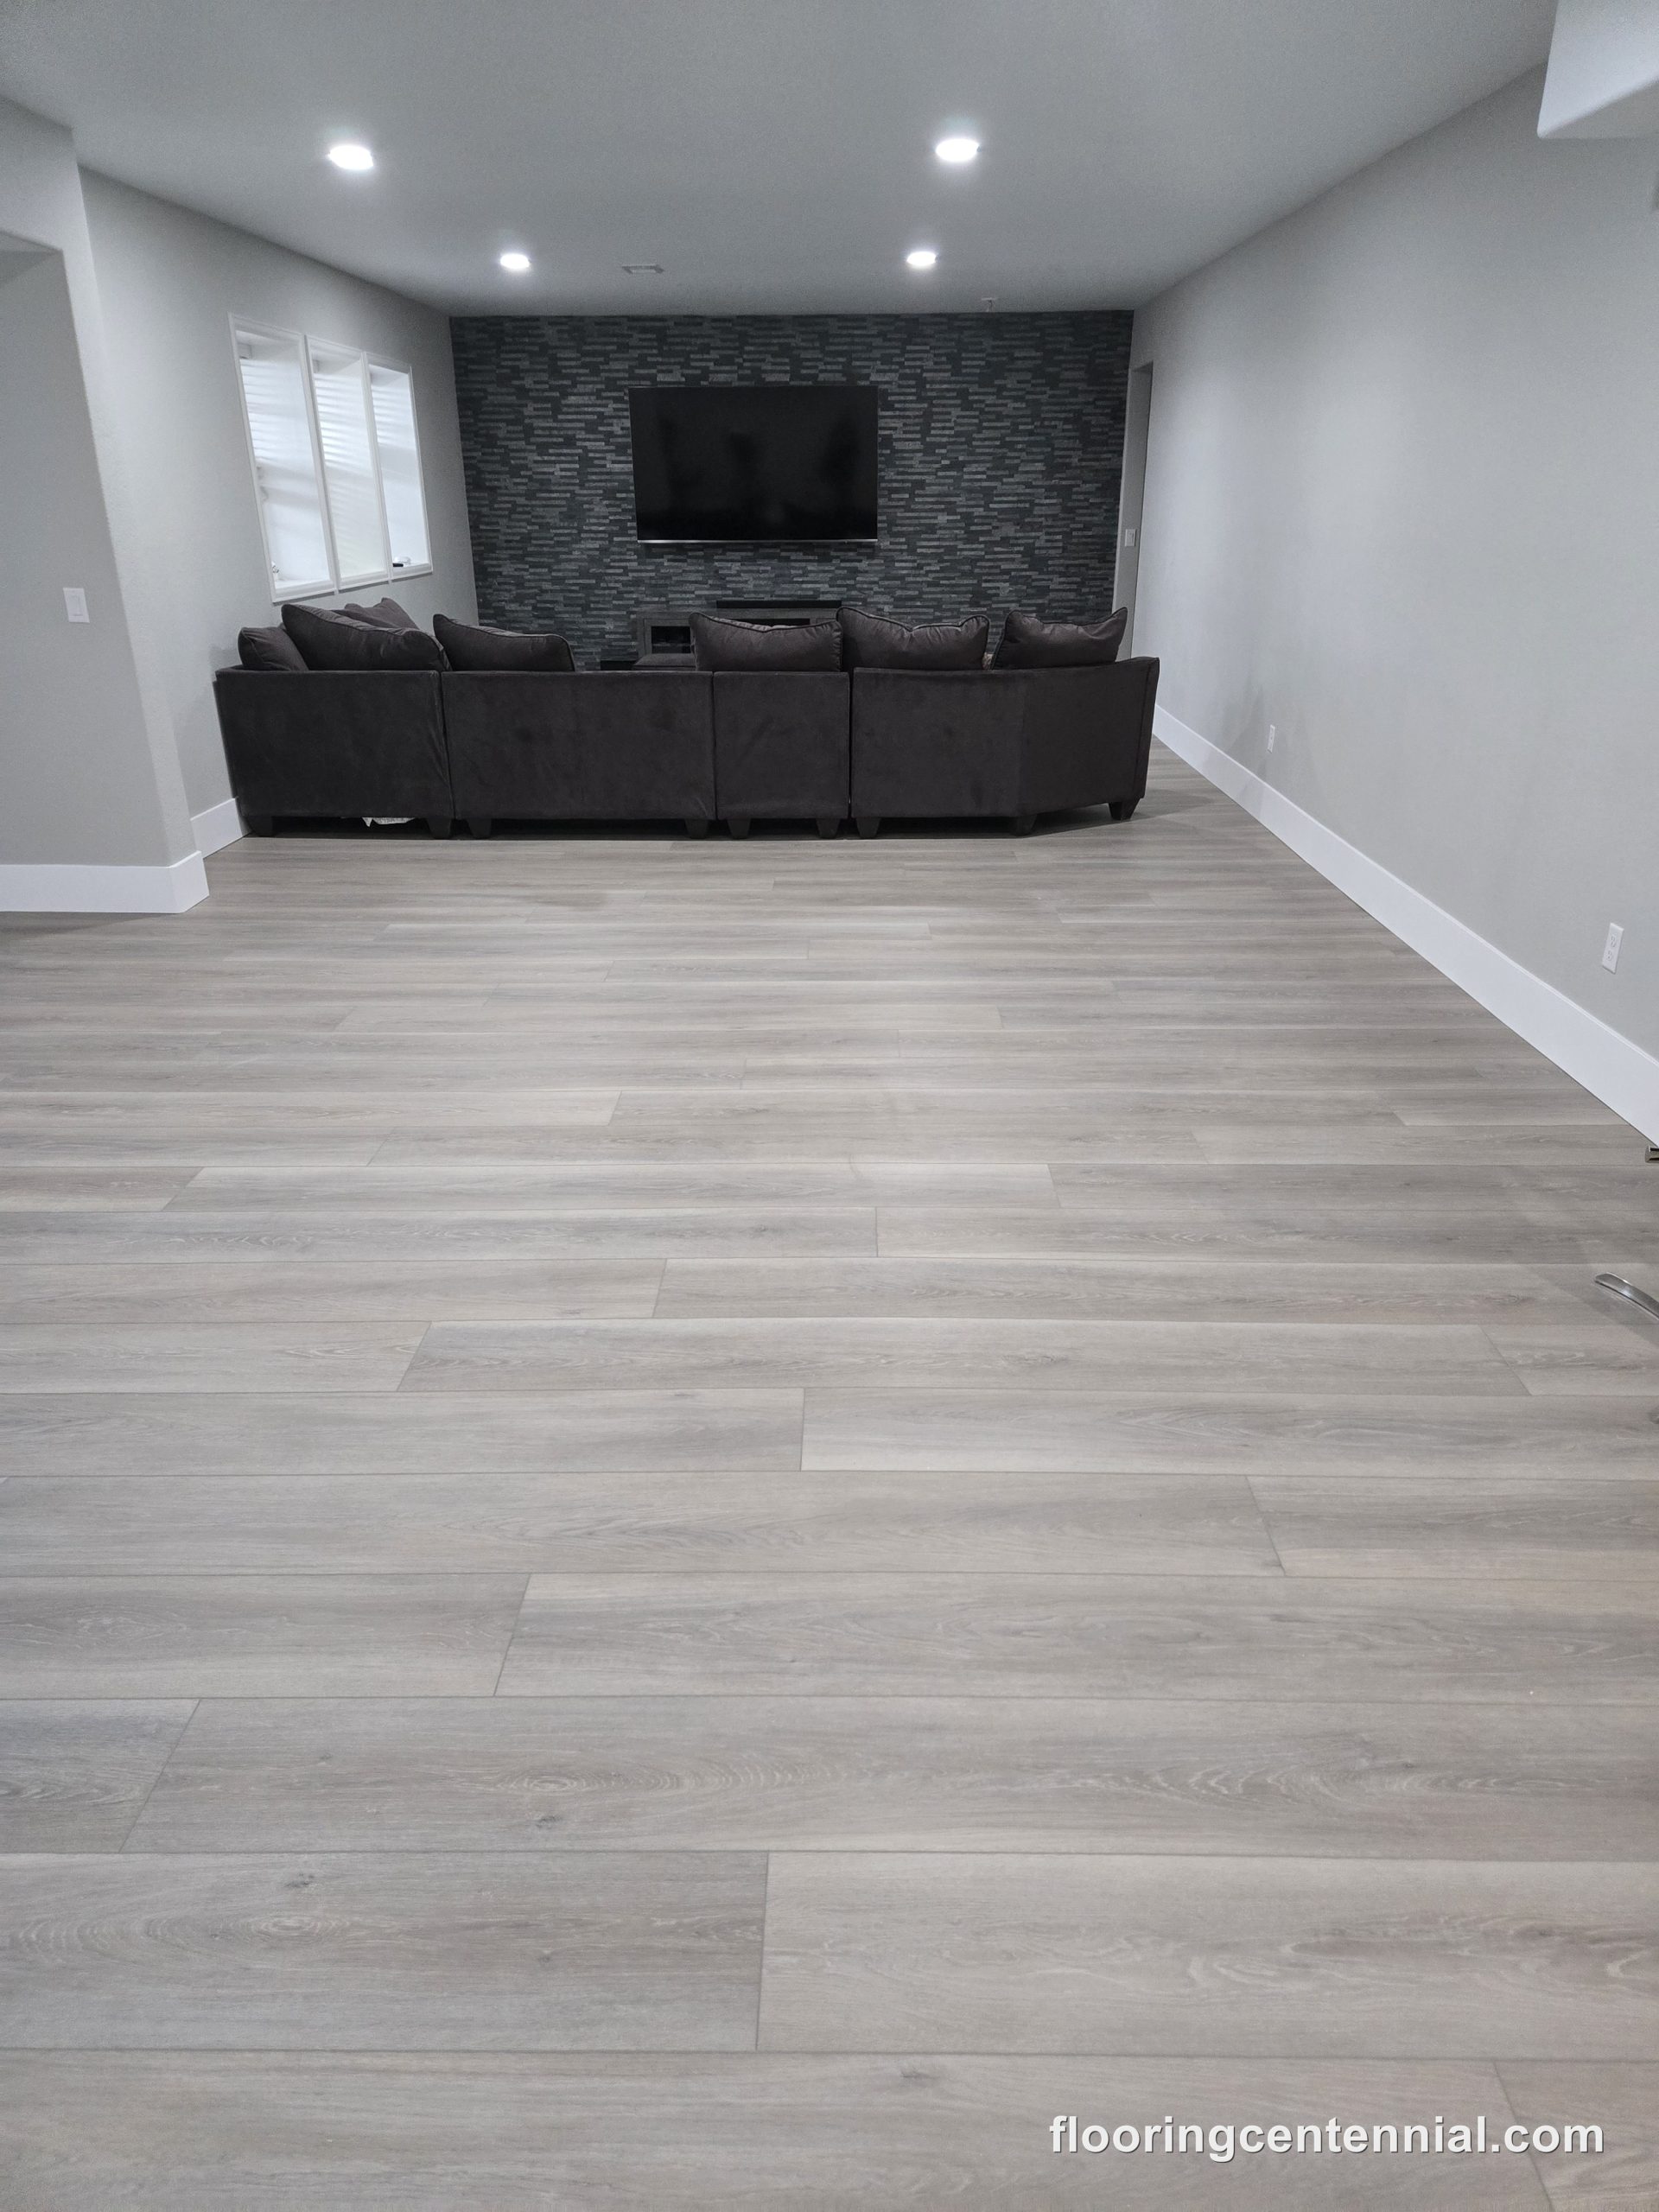
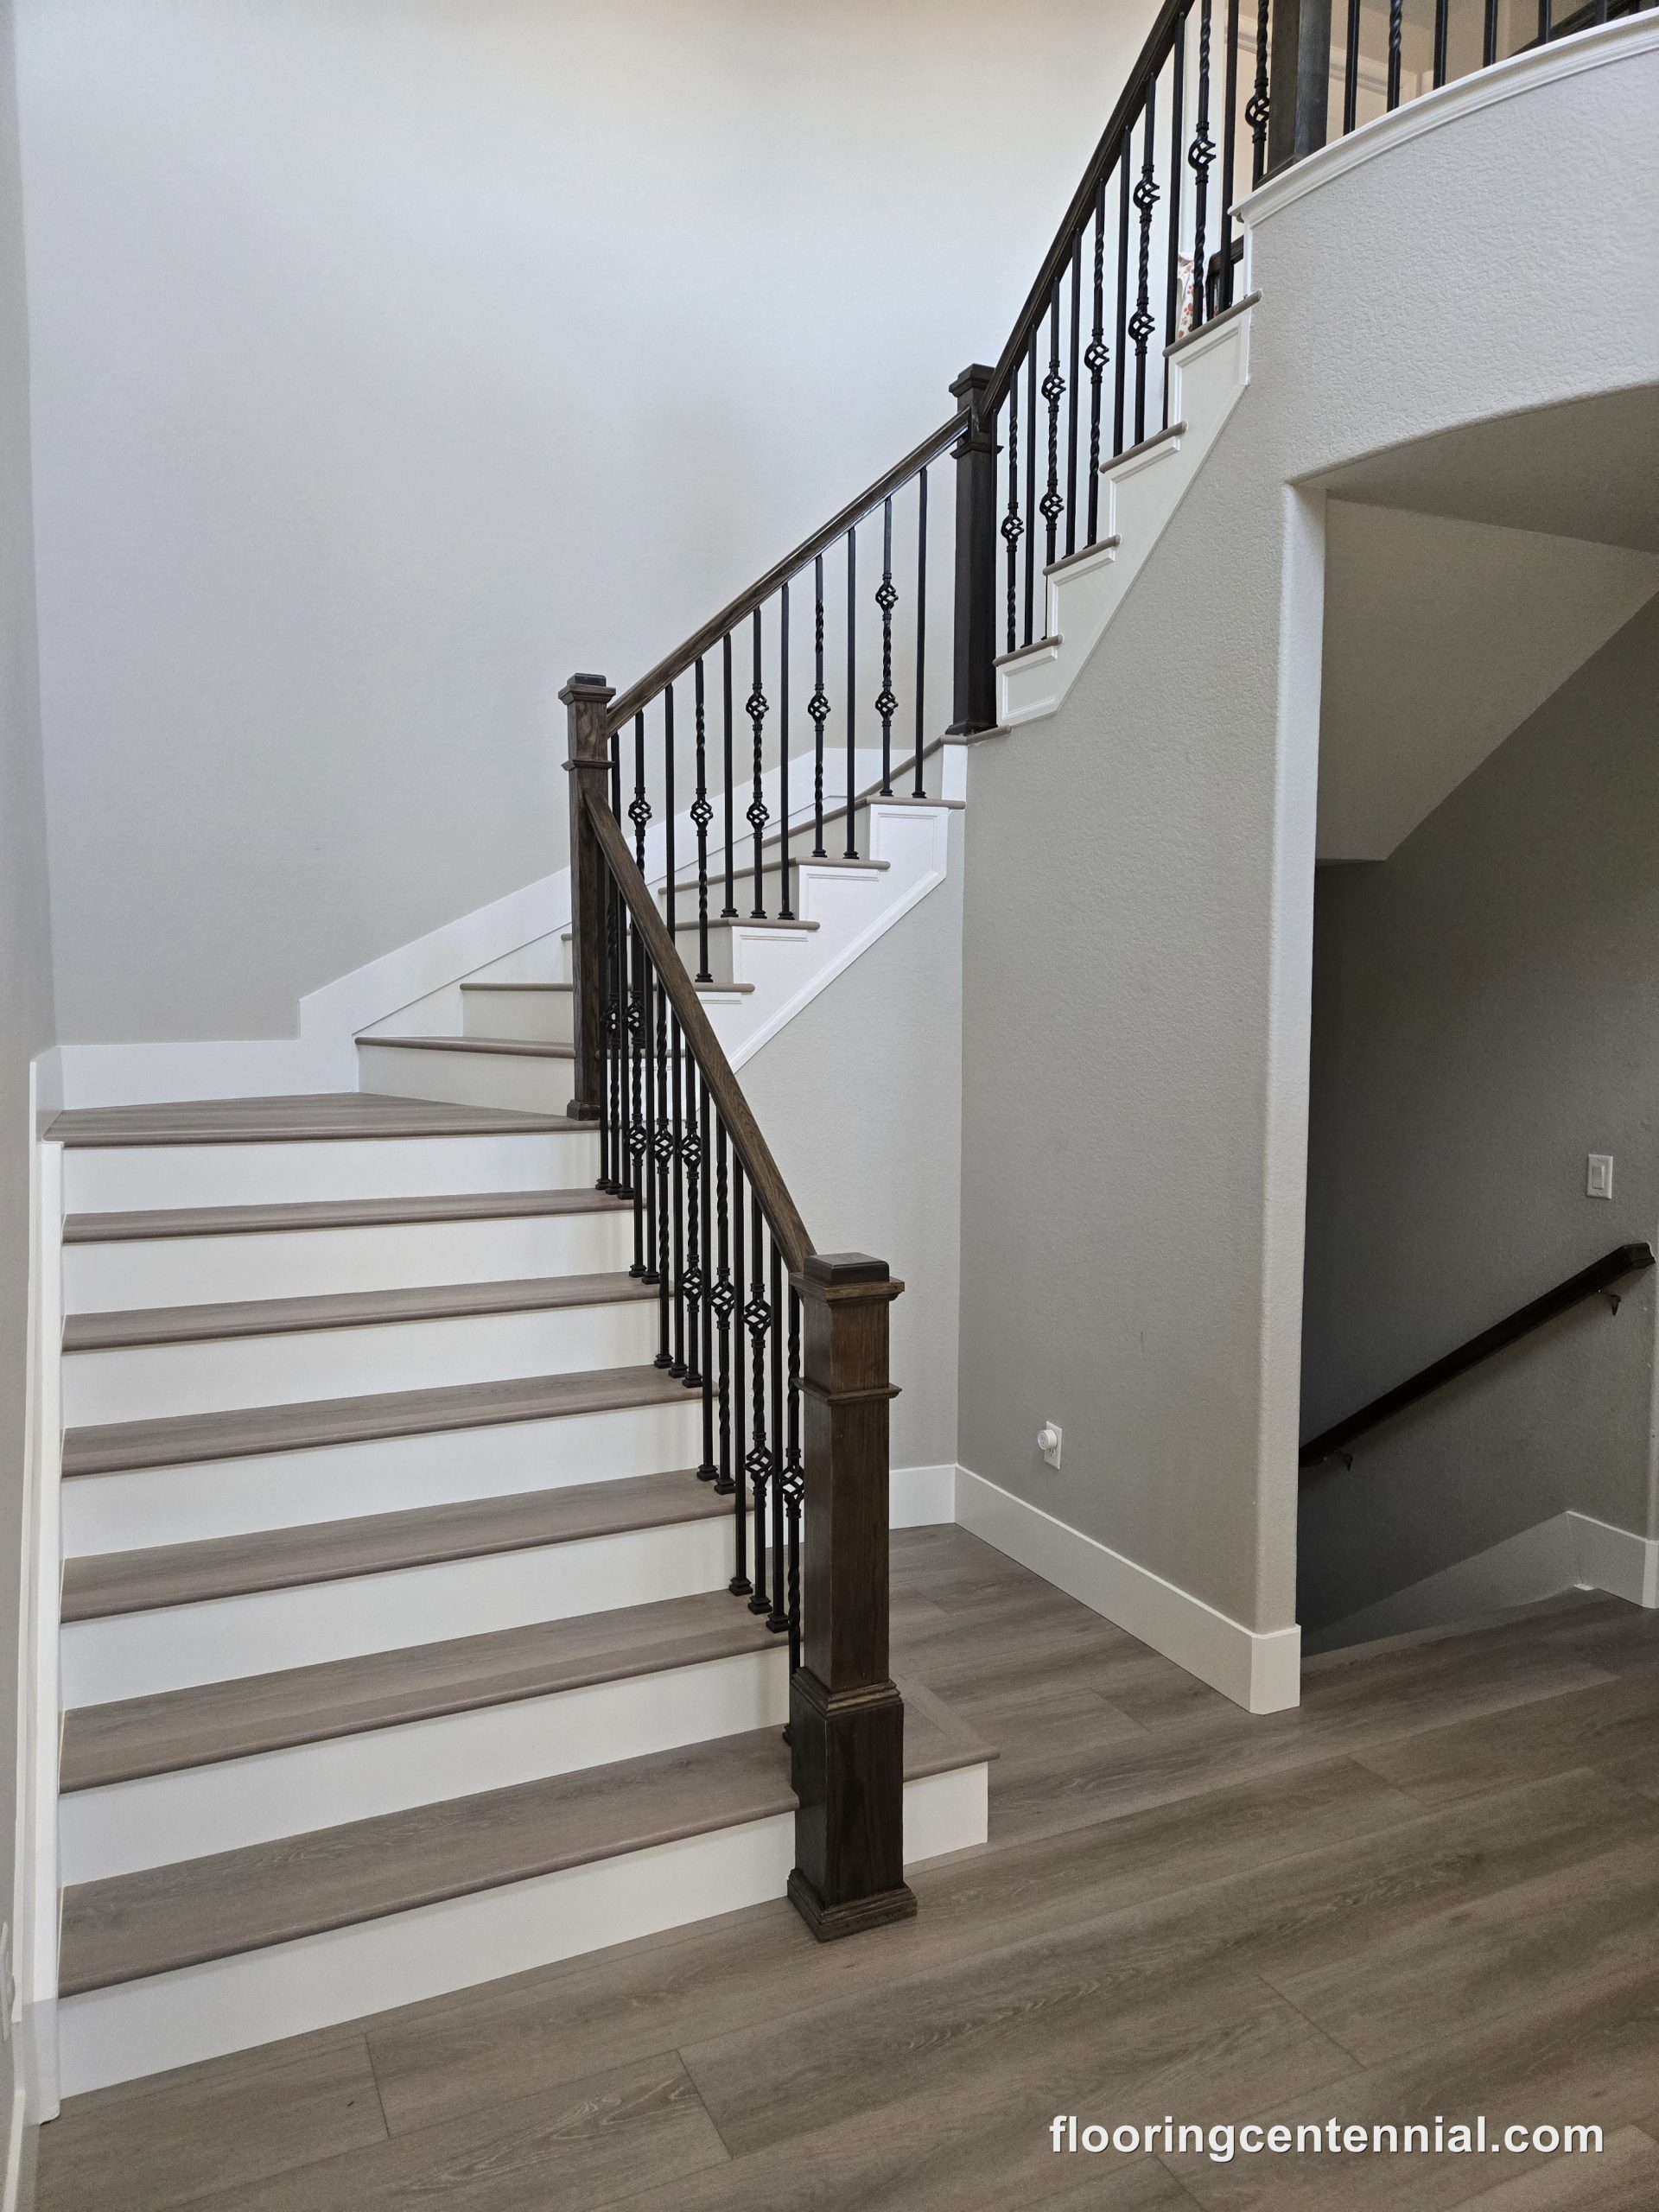
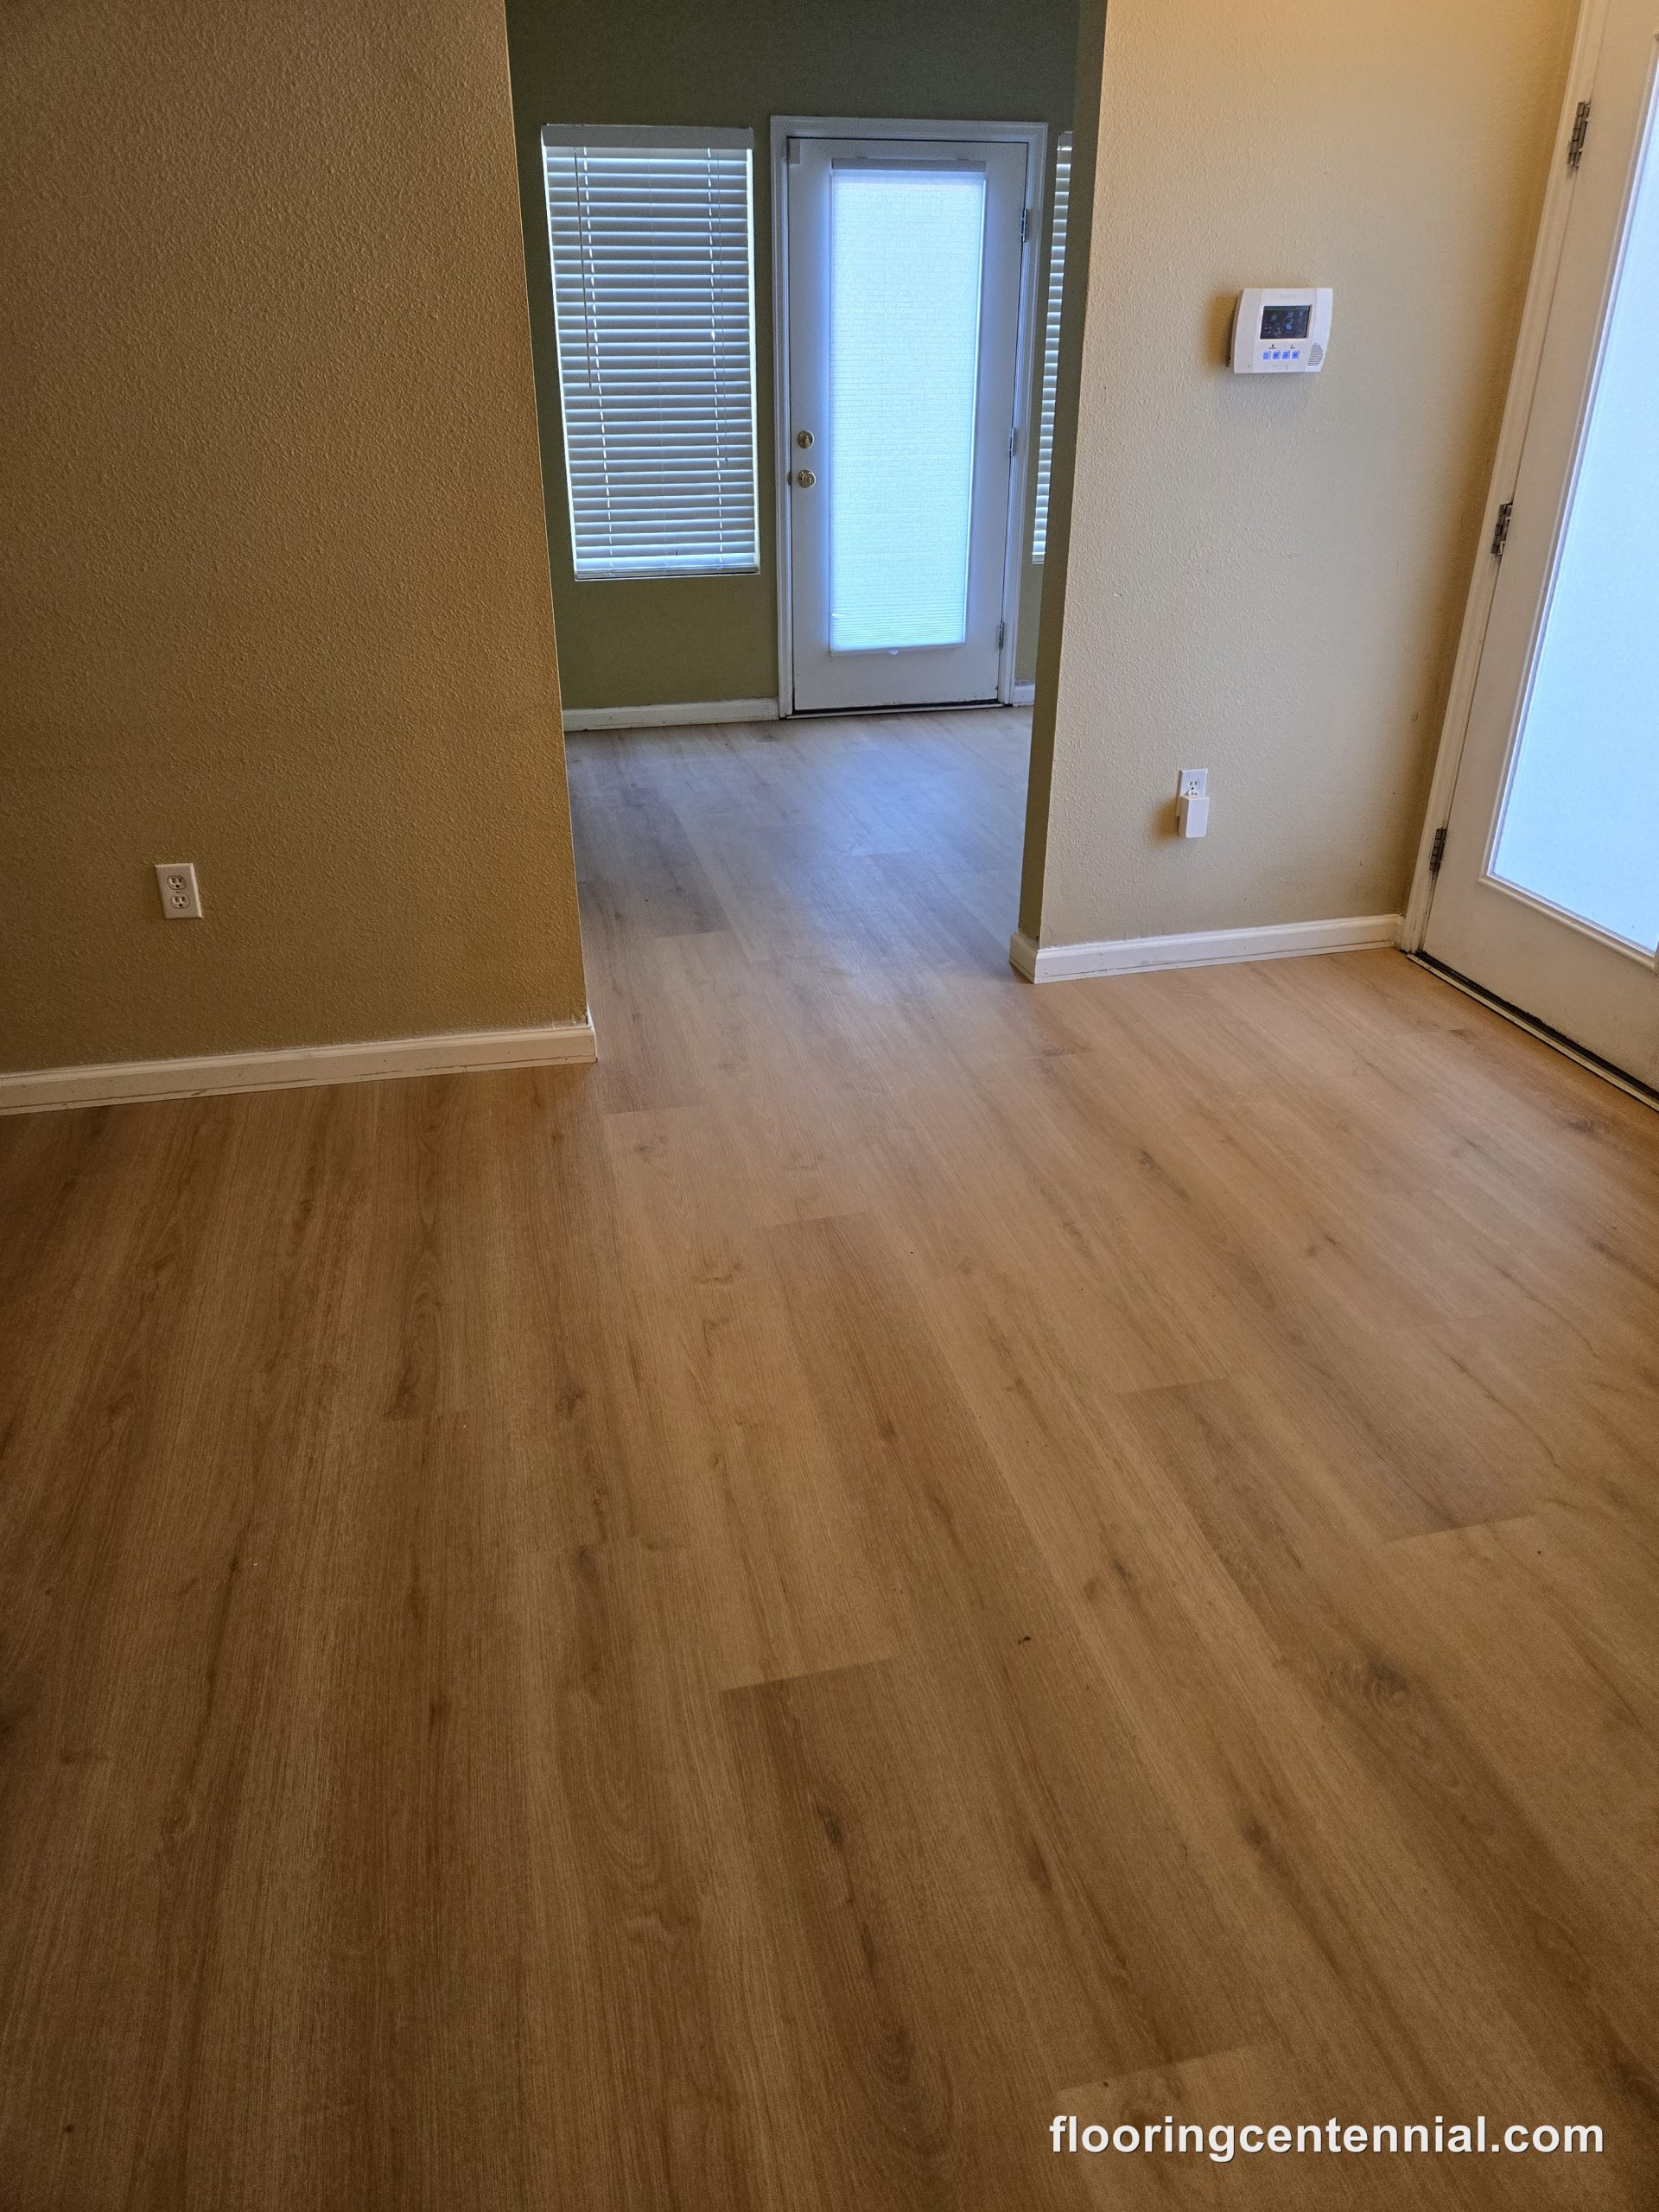
At Floor & More, we’re one of the recommended flooring services in Centennial, and we’ve been installing vinyl floors for homeowners across the Denver metro for years. We get that you want something that looks great but can also handle real life, kids, pets, the works. Our team makes sure you get a floor that checks both boxes without breaking the bank.
Enlivening Interiors with Premium Vinyl Floor Installation in Centennial, Colorado
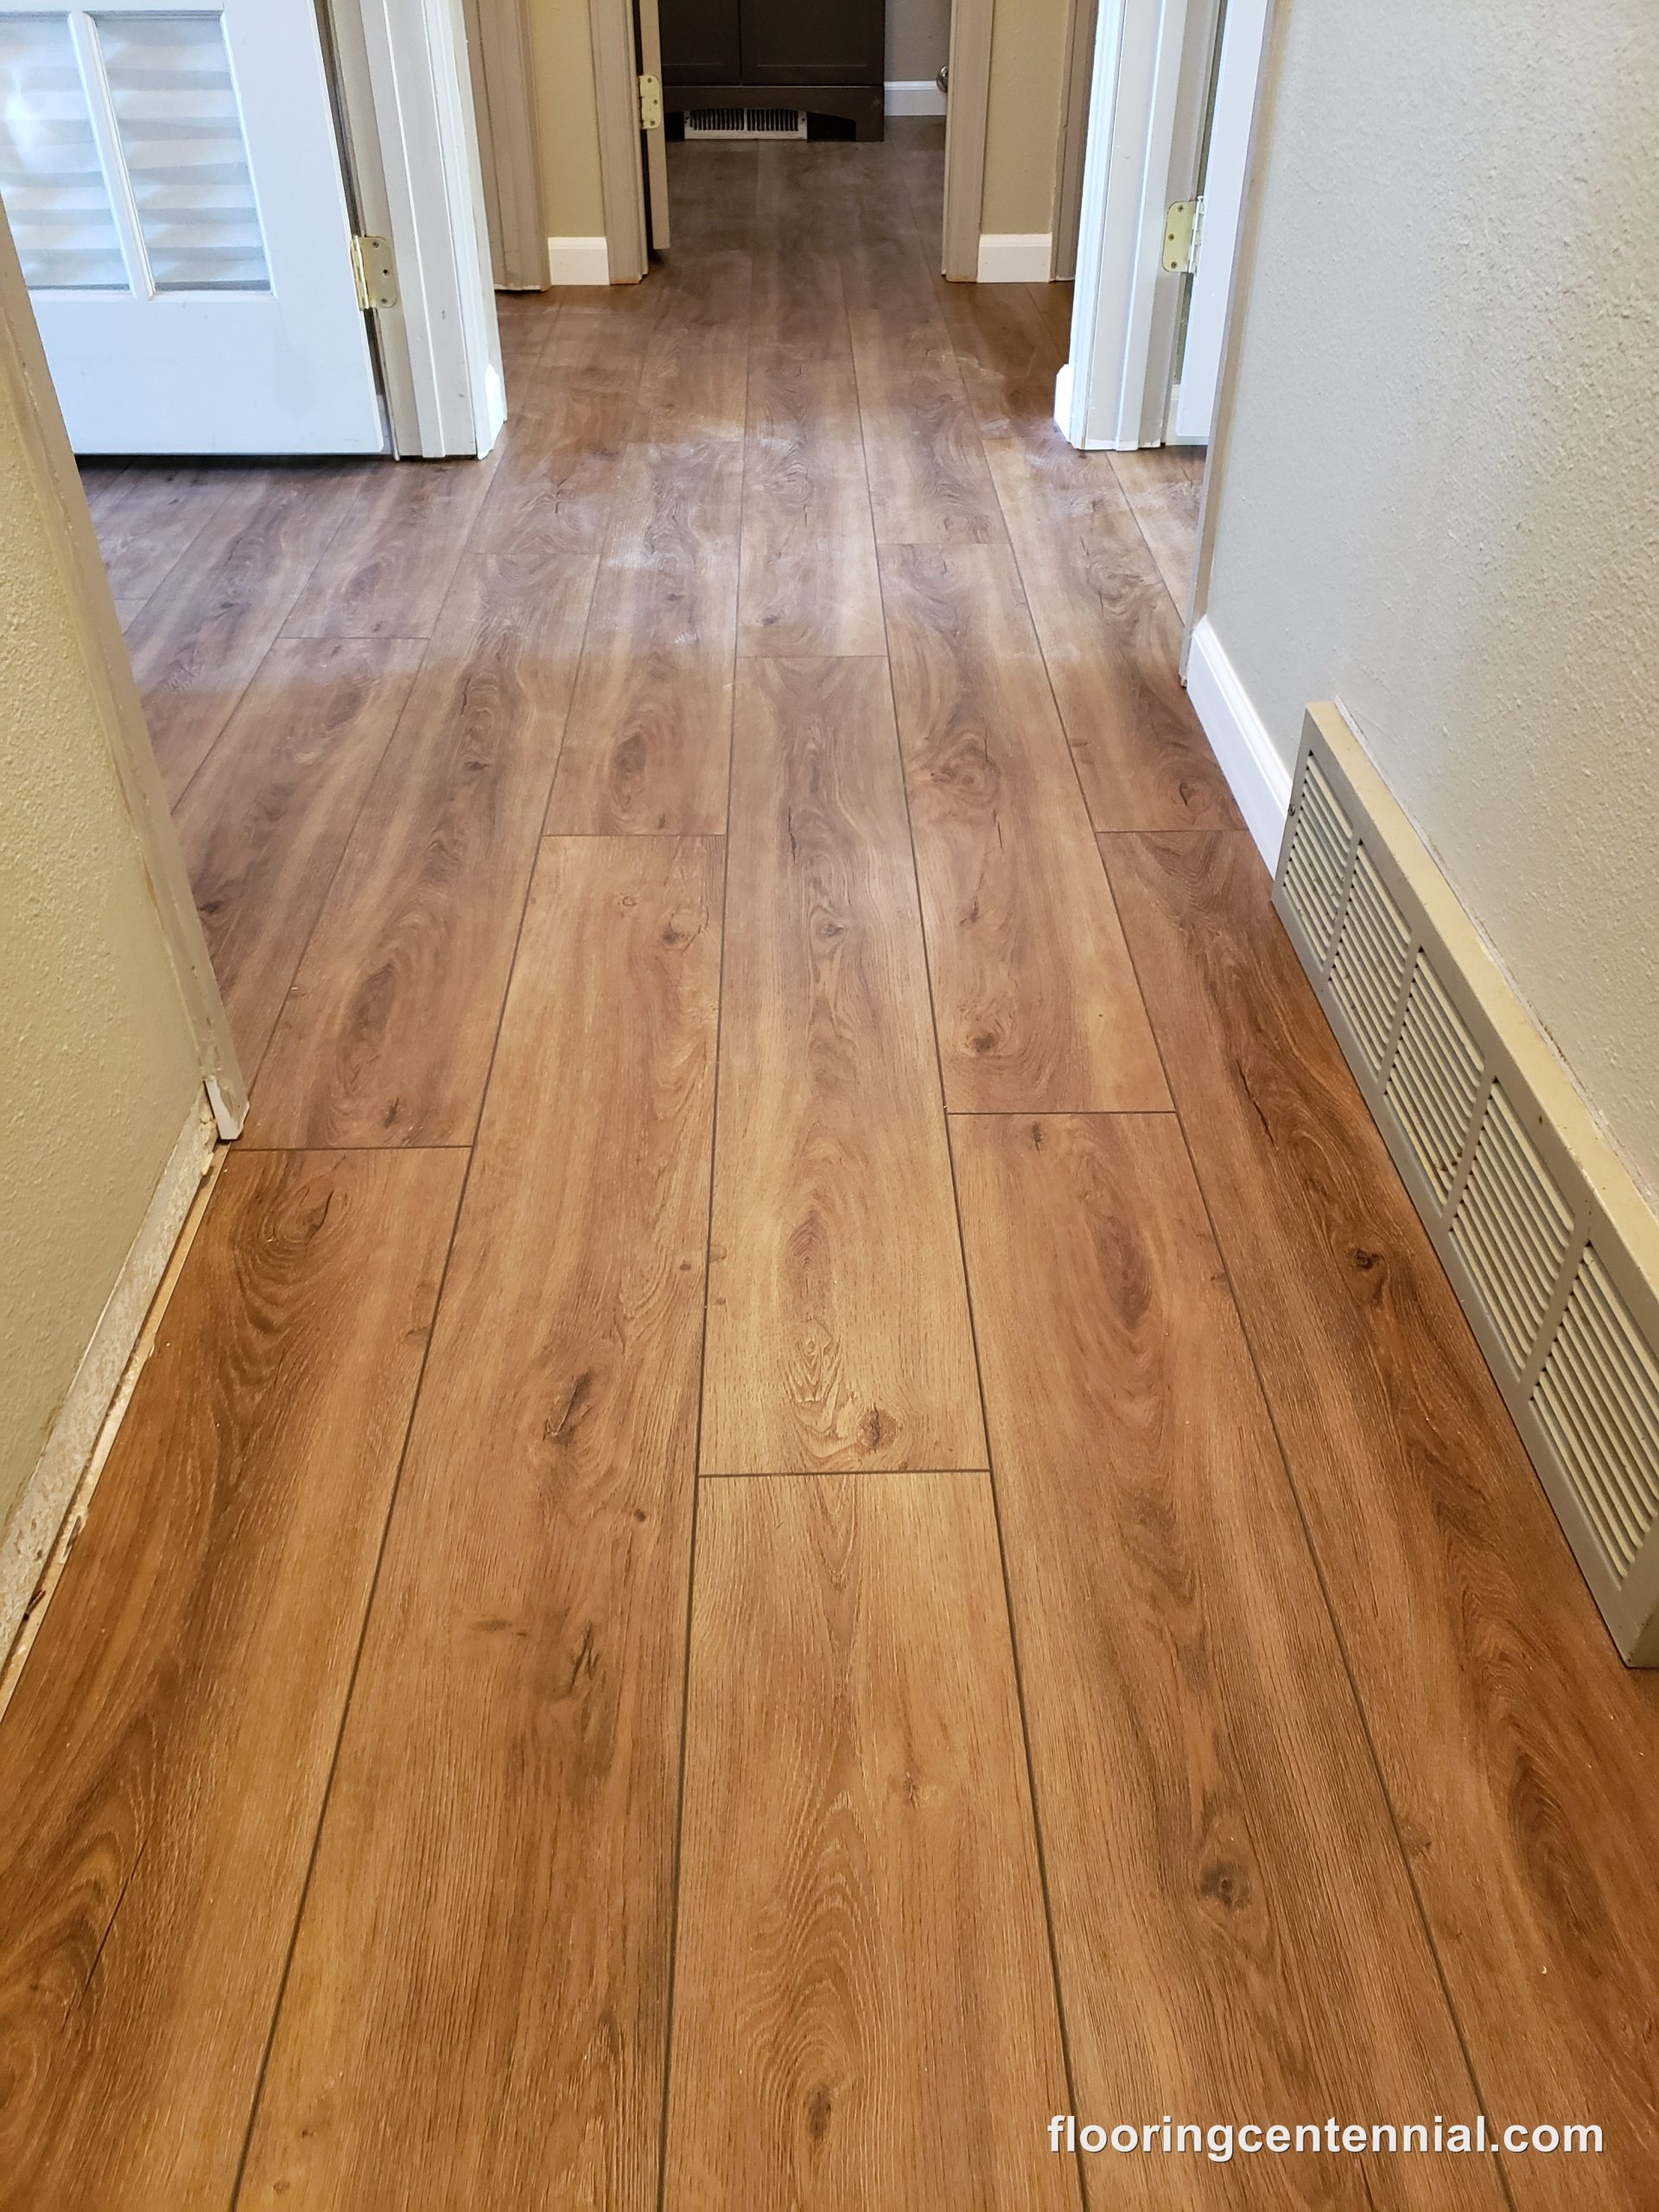
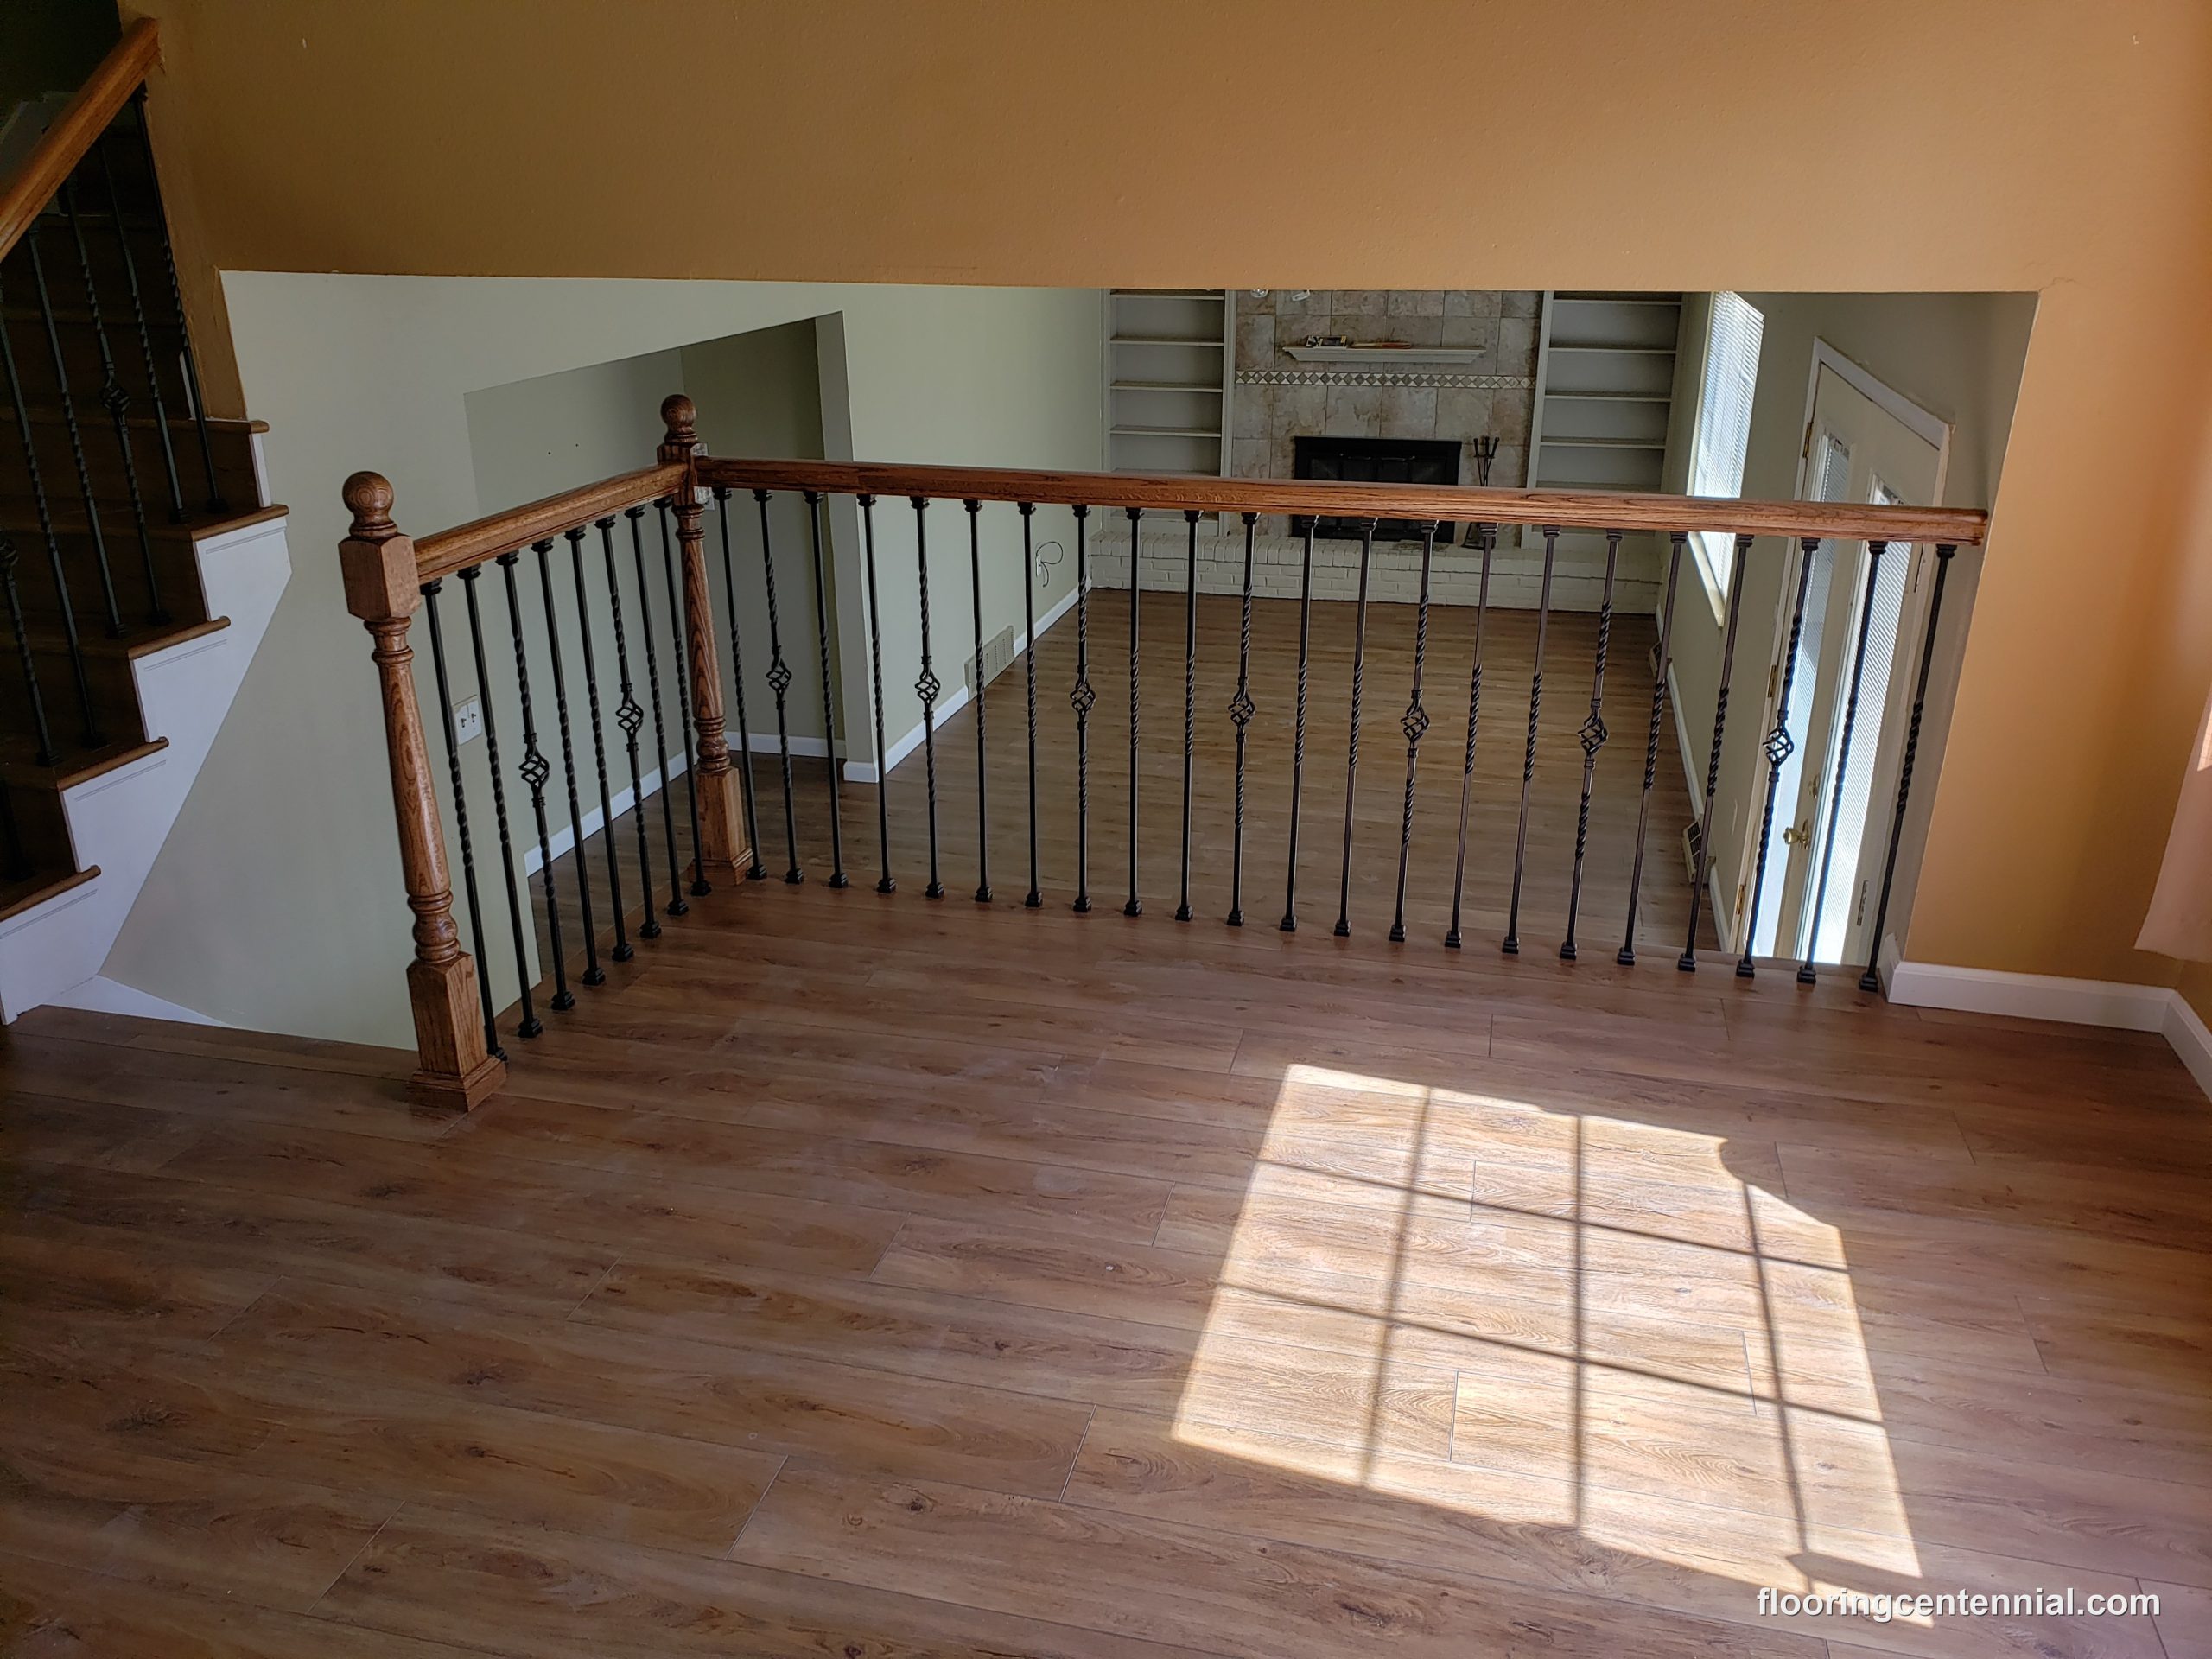
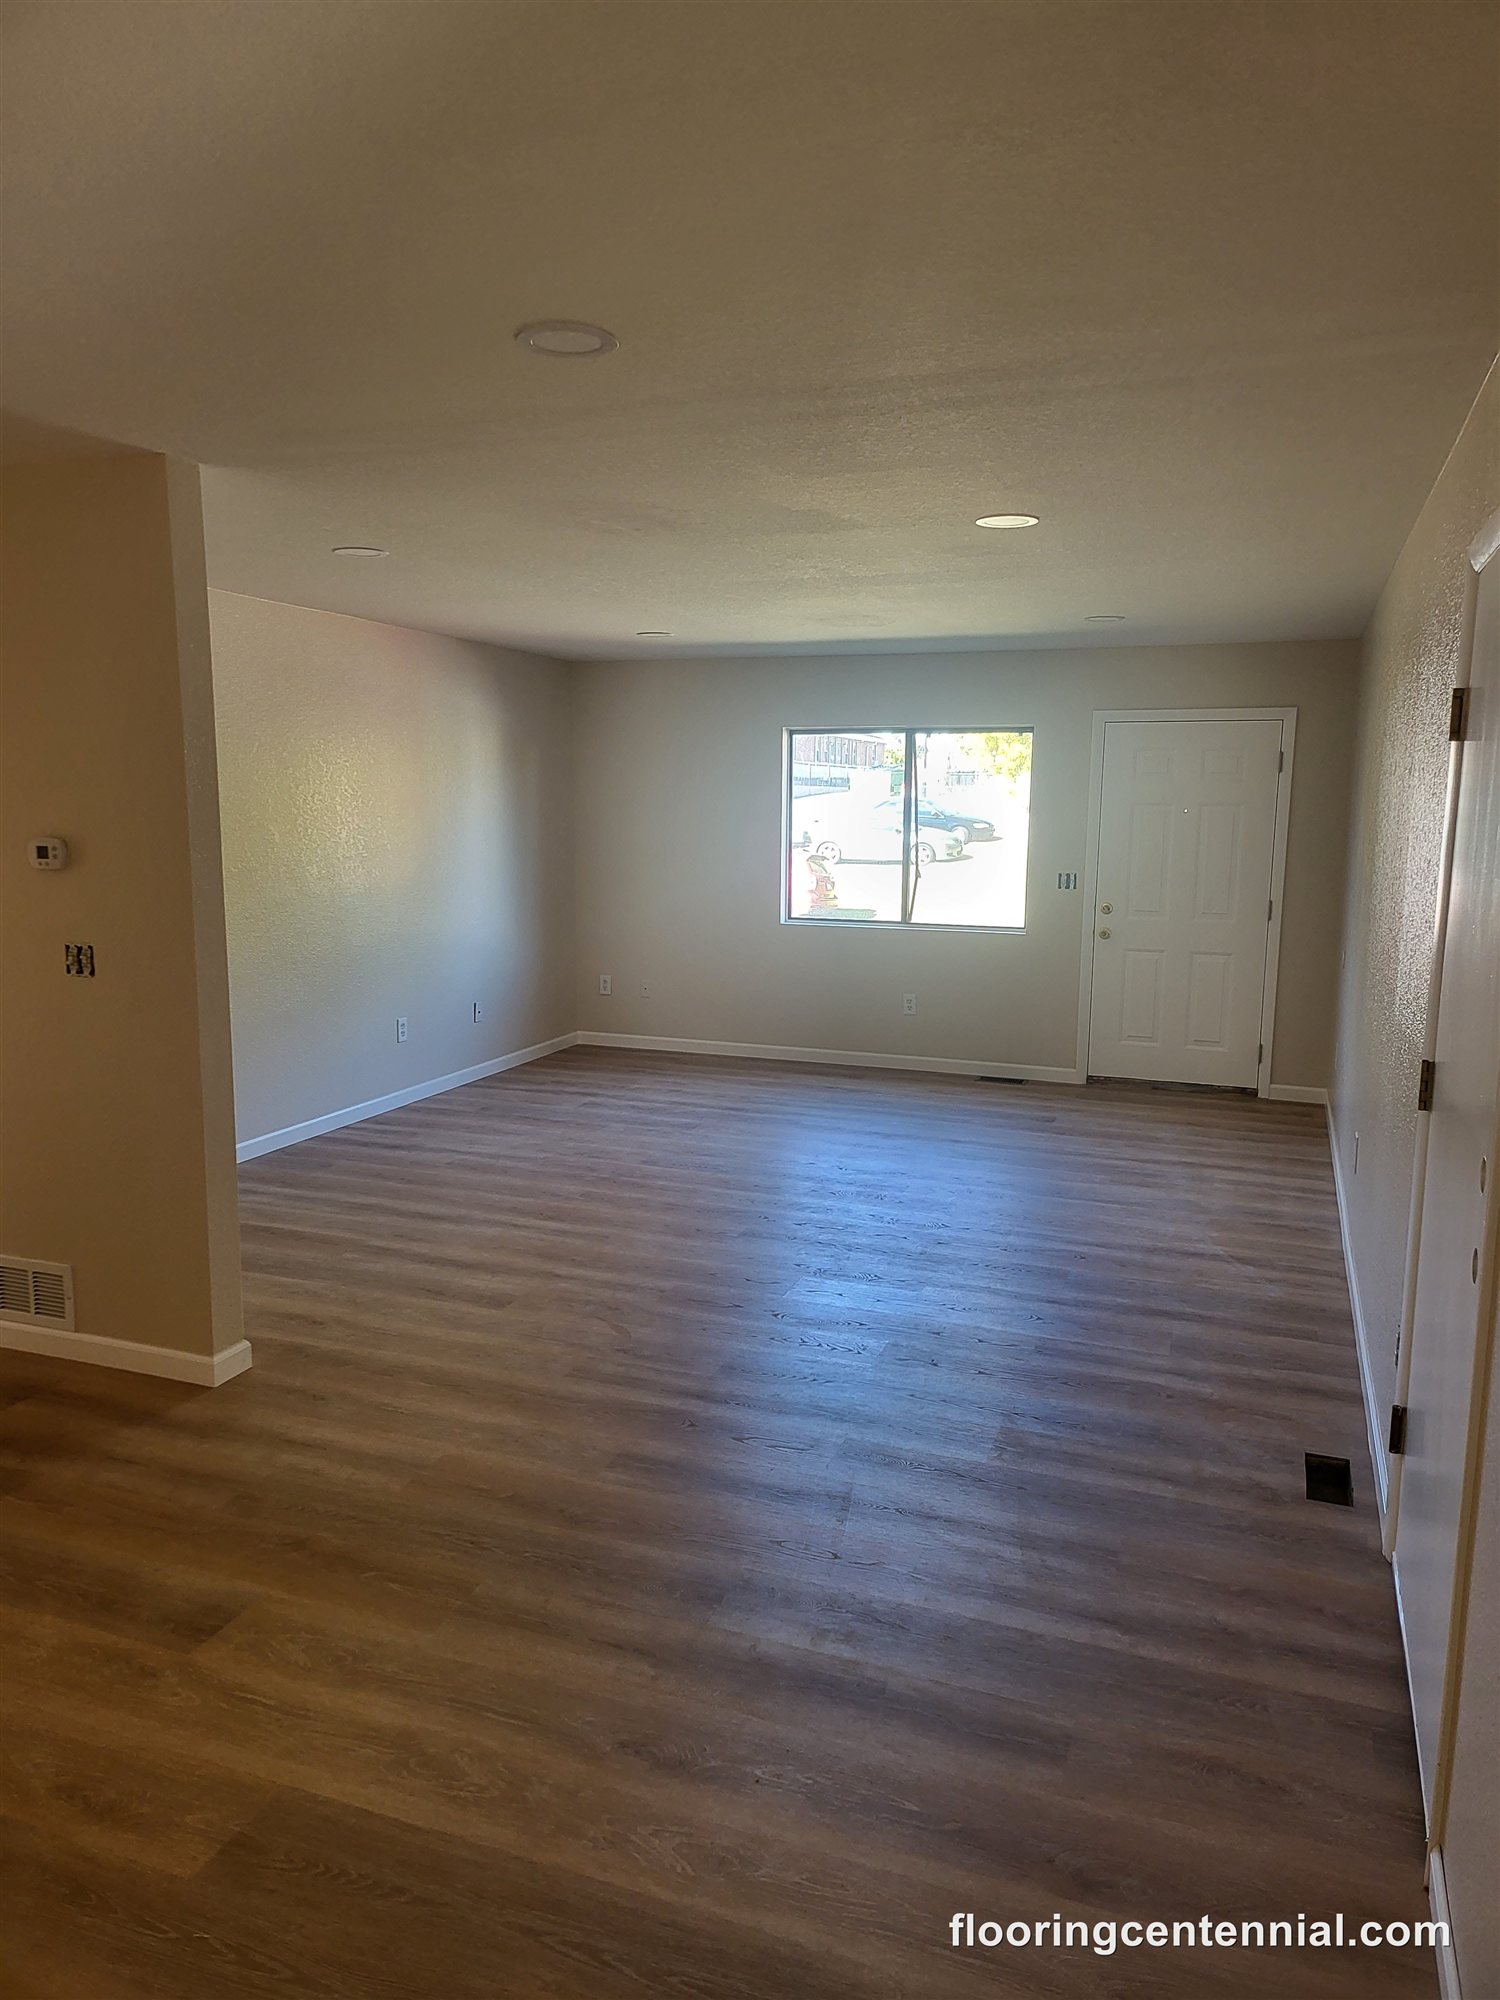
Floor & More is proud to offer flooring options that are both stylish and practical. Luxury vinyl flooring is one of our most popular choices because it looks great and lasts a long time. When preparing for your vinyl flooring installation, it’s important to have the right tools on hand for measuring, cutting, and installing the flooring. This ensures a smooth process from start to finish. With our luxury vinyl floor installation services in Centennial, Colorado, you can give your home the elegant look of wood or stone without the upkeep. We also help you find the perfect design to fit your style, so your floors look polished and valuable. Our work ensures long-lasting performance and a perfect finish by paying close attention to every detail.
Preparation for Installation
Vinyl Sheet Flooring
Vinyl sheet flooring comes in big rolls and is seamless. It is water-resistant and works well in places with much wetness, like bathrooms and kitchens. Its continuous surface keeps gaps to a minimum and lowers the chance of water damage. There are many styles of vinyl sheets, including ones that look like wood and stone. They are stylish and functional.
Vinyl sheet flooring often comes with a specific backing that helps it adhere to the subfloor, and the type of backing can affect the installation method.
Vinyl Plank Flooring
Vinyl plank flooring looks like hardwood because the individual planks fit together for a sleek, modern look. It’s known for being long-lasting and easy to clean, making it a popular choice for homes and businesses. Most vinyl planks use a click-lock installation method, letting them “float” over the subfloor without glue or nails. When installing vinyl plank flooring, it’s important to have the right tools and materials on hand for a smooth workflow. Some scenarios, like uneven subfloors or complex layouts, can be trickier and may need extra care or professional help. DIY centers carry the essential tools, so a hands-on installation is possible too.
Vinyl Tile Flooring
Vinyl tile flooring looks like ceramic or stone tiles and can be made in various shapes and styles. Each tile is made to be put down separately, which makes it easy to replace broken ones. Vinyl tiles usually have a sticky back that makes them easy to put down, but you might need extra glue to make the fit more secure.
Glue-Down Vinyl Flooring
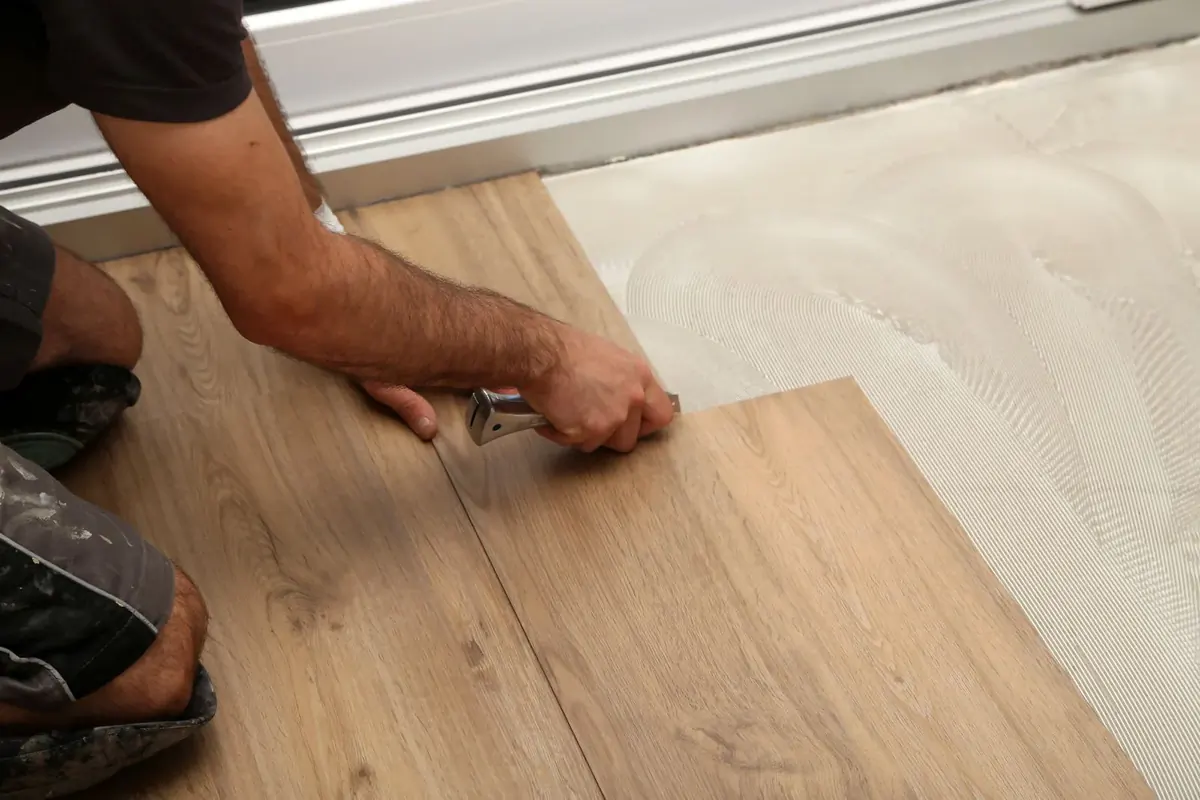
Before starting your glue-down vinyl flooring project, order the correct amount of vinyl, plus extra material for mistakes or future repairs. For this method, you’ll spread a special adhesive on the ground before placing the vinyl sheets or planks. If you’re using an underlay, connect the underlay strips securely with adhesive tape for a continuous surface. This approach creates a safe, stable floor, perfect for high-traffic homes or businesses, since the glue keeps the vinyl in place and less likely to shift or bubble over time. Finally, carefully cut the vinyl sheets or planks to fit the room’s dimensions and around any obstacles for a clean, professional finish.
Tips and Considerations
Transform the Aesthetics with Exquisite Vinyl Floor Installation from Floor & More
The style, durability, and ease of upkeep of luxury vinyl flooring can’t be beat. As Centennial, CO’s trusted vinyl floor installation team, we make sure your project goes smoothly, so you get floors that look great and handle everyday wear and tear. Our professional staff also ensures your luxury vinyl floors improve your home’s look while offering real benefits like moisture resistance and durability. Remember, an installation is only complete once all finishing touches — trim, caulking, and thorough cleaning — are done. At the end of the project, seal the edges and replace any molding for a professional look that helps prevent water damage.